Google Analytics

Showing posts with label darning foot. Show all posts

Sunday, January 18, 2015

Fonts for Quilting Text

Here are some of my favorite fonts to use when quilting text.  When we write text on our quilt and use it on our quilt top or in place of quilting it is called free-hand machine embroidery.
Depending on the font,  I will use a zig-zag stitch for a calligraphy effect, OR, I will use a thick thread (12wt) and just a straight stitch.   Both options are done free-motion with a darning foot.

 (click photo to zoom-in/closeup) 

So what does one look for when choosing a font for text quilting?  What aspects of a font make for an ideal free-hand machine embroidery?


  • 1. The lines that make up the font are a similar width.   

It's difficult for us to recreate with thread the various widths made with a calligraphy pen or marker  We can use a wide zigzag stitch and by pretending your quilt is the paper, and your needle is the "PEN," we can give somewhat of a calligraphy effect, but it will NOT be the same as what is on the font.  If you do the zigzag stitch then that is just your creative vision.  So it's still best to just choose a font that uses the same width throughout the font.

  • 2.  There are not many stops and starts,  

It's unlikely you'll find a font in which the letters are all attached.  For machine quilting, we want as FEW stops and starts, (or KNOTS) as possible.   Just keep this in mind when choosing a font.

  • 3.  Simple is best.  

Some of the most beautiful fonts include lots of curly-Q's and beautiful decorative swirls and whirls.  But that's not really going to look best when transferred to thread on your quilt.   Plus it's a pain in the butt!  So we should look for a font that is SIMPLY beautiful.


Here are some examples of text in my past quilts:

4 memorial quilts I made using this gentleman's clothing, Ford fabric, and photos.  Each quilt contained "sayings" and nicknames in the borders.  Each of the sayings were unique to the quilt's recipients (the 4 siblings.)  The borders were done with a 12 wt thread and straight stitch.  The center/middle section that contained the name was done with a zigzag stitch.  
Here's a link to the thread I used on amazon:  


For this quilt I wanted the initials to look like a monogram.  I used an extra wide zigzag stitch.  

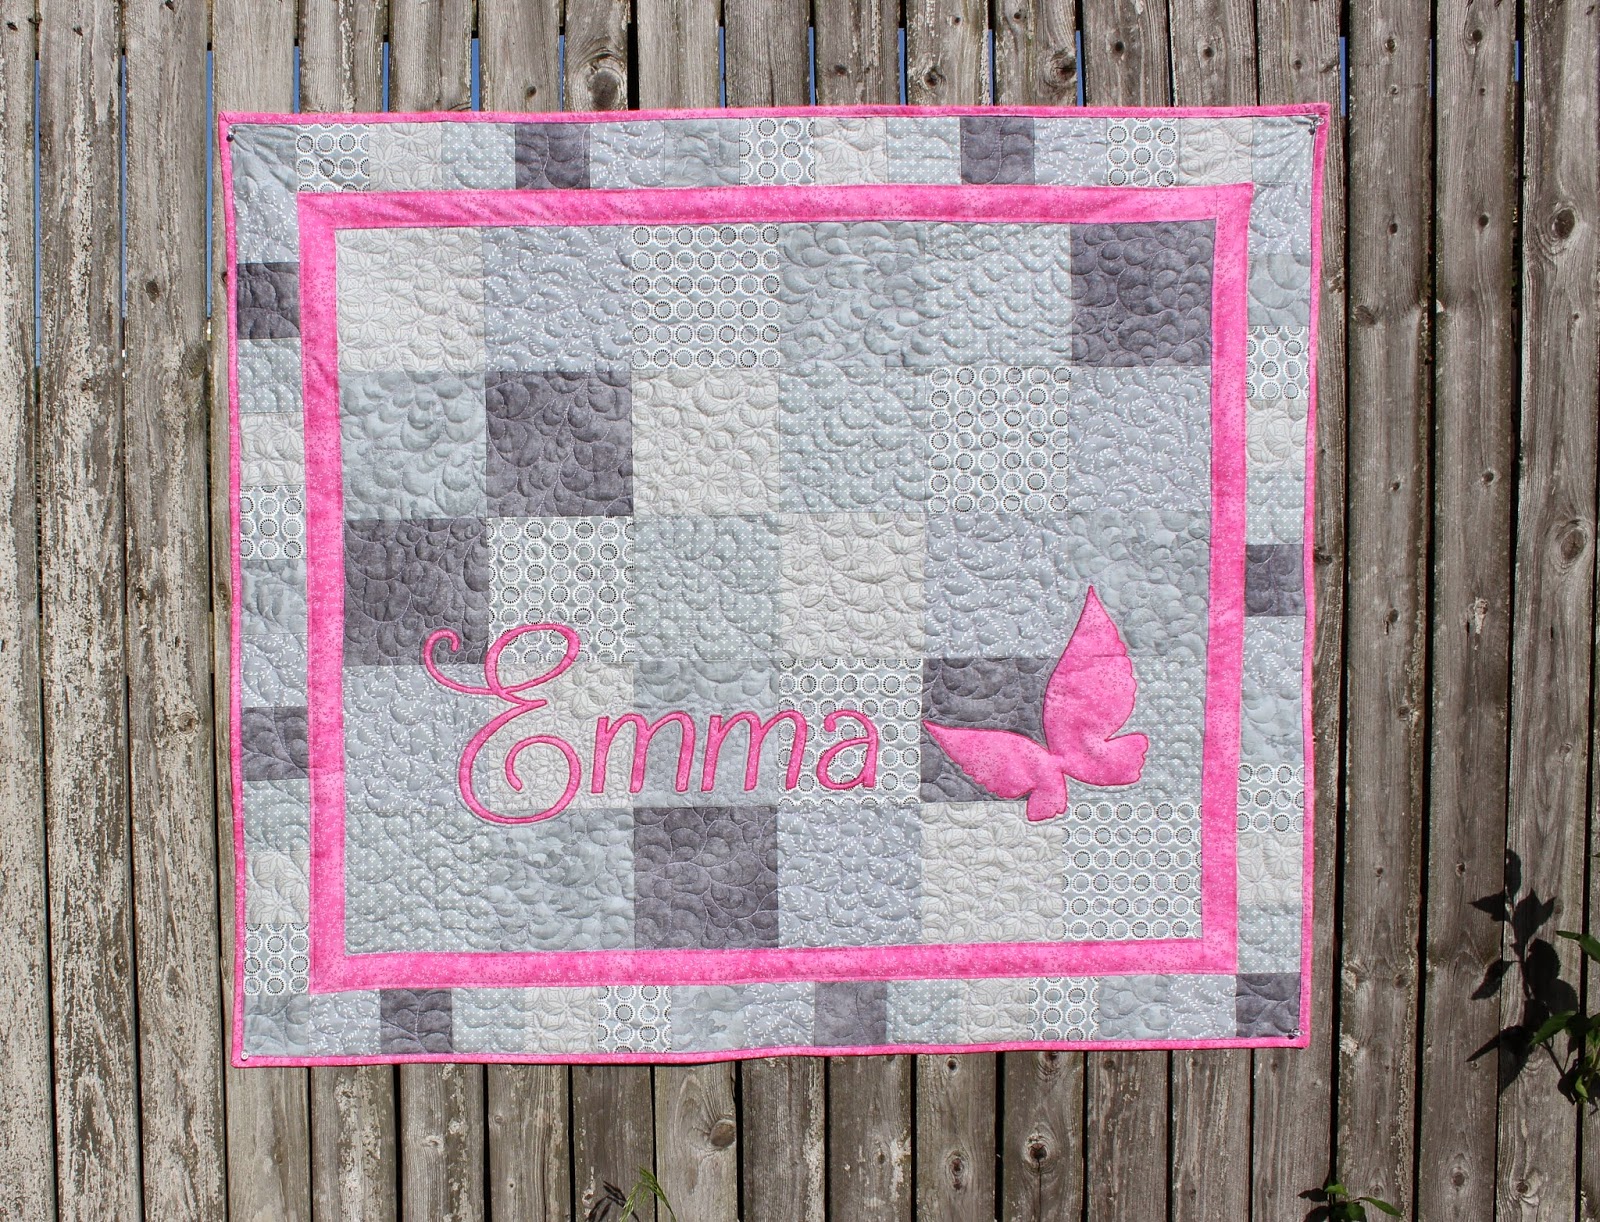
The text on both of these quilts were  done with a medium zigzag stitch


for this advent calendar I used a 12wt thread by wonderfil called "spaghetti"
Here's a link to the thread I used on amazon: Spagetti Thread, Eggplant


Since the name on this child's clothing quilt was somewhat large, I decided to use a font that looked more juvenile.   I would typically stick to cursive but I like the way this turned out.  It was worth the extra knots.  

For Isabella's clothing quilt, I wanted something that looked more modern and elegant.  Again worth the extra knots ;c)  

I include free personalization with all of my T-shirt quilts.  


I DO want to do a tutorial on how to actually do the text on the quilt.   Stay tuned for that sometime in the near future!! 


Friday, August 29, 2014

Lavender, Pale Yellow, and Grey


My friend Trenta, a lady and fellow mom who graduated with my sister, requested this quilt for a baby shower gift.  The baby's name - Emma.  
The piecing for this quilt is rather simple, but we most certainly "fancied" it up!  She had very specific colors in mind for this quilt.  And these colors must be very popular, because there were so many combinations of these colors together at the fabric shop, it was not difficult at all for me to blend them.  They even had a chevron with all the colors in it!  
Lavender, Pale yellow, Grey, and White for the pieced background.  For the appliqued name and binding, we used a teal.  I secured the "Emma" with a straight stitch using raw-edge fusible applique.  Then for the background I wanted a very feminine, flow-y motif.  I really love this floral paisley design and it worked well for this quilt I believe.  I did a few small pebbles around the applique which made it stand out a bit more.  
The icing on the cake is the backing, which is that chevron with the perfect blend of all the colors!
I've never had so many random people stop me at the fabric store to "ooh" and "ahh" over my pile of fabrics ;c)


Thursday, August 28, 2014

What? Another Crown Royal Quilt Finished?

Why yes!!  Yes TIS true!  And this one is just as good if not better than the rest, if I do say so myself.
 I love taking a photo of all of my pieces after they are freshly pressed and cut!  To me, it's very much like a puzzle.  Soon they will all fit together precisely to make a beautiful quilt!
 anddd we have a completed TOP!   One lone black bag for this quilt - it is the shining star in the middle!
 Quilt top being basted and ready to quilt!
 And here we have our finished quilt.  The one big difference on this particular crown royal quilt, is that I stitched a name on the bottom right-hand corner in matching thick gold thread.   I used a wide zig-zag stitch and my darning foot for  hand-guided machine embroidery.  My lovely customer chose the font and size.  If she is reading this - THANK YOU for your patience with me, and helping me decide on the size and font ;c)  I am verrryyyy indecisive!

Again, I have this pattern for sale as a downloadable PDF on etsy https://www.etsy.com/listing/168133712/pdf-royal-star-quilt-pattern-booklet?


Saturday, July 5, 2014

Beth's Quilt for Baby Emma


 A beautiful baby quilt with patchwork greys in subtle prints, with pretty pink applique, border, and binding.
 Here's the top finished, and basted before adding applique.
 I do a technique called raw-edge fusible applique, and I go through all layers of the quilt.    So here I start with the background quilting first.  I'm using a paisley flower motif.

 Love the quilting ;c)

Saturday, September 18, 2010

FMQ! I'm doing it!!!!!!!


I'm actually doing it!! I was beginning to think it was impossible!
Ya know all those blogs that say you need this and you need that? I'm one that things nahhh.. certainly I can give it a go without all those fancy (expensive) tools! I have a Janome DC2010. It's got a nice fat/flat bottom which is super nice.. but I was missing one MAJOR component: A darning foot. So I visit my local sewing machine retailer (Mr Sewing Machine in Dunbar, WV) and indeed they have the just the tool I need. As soon as I put that sucker on it was smooth sailing (relatively speaking of course.) You would not imagine the difference!!! So since the foot worked I thought about trying the gloves but it's late and I improvised with rubber cleaning gloves (the kind I use for dyeing.) They work like a dream!! I can only imagine what the actual gloves designed for FMQ are like! So here's a photo of my very 1st attempt with the free motion quilting foot on a sample piece.


The Christmas row-by-row block is quilted with Aurifil in the bobbin and Connecting thread on the top. The bottom sample is quilted with Connecting threads in both.
Oh and another thing - When I first tried this with the new foot, I dropped the feed dogs on my machine and all my thread jammed up under the feed dogs and my machine made a horrible noise, the lights blinked, it shook like crazy and then shut off. I thought I had broke it. I had to take the bobbin cover and plate off to get all the thread out from underneath. *blush* I haven't cleaned underneath there.. since I got the machine last Christmas. I know, you don't have to say it I probably cleaned 1/4 cup of lint from underneath there. I'm surprised it was still sewing. I guess I have a pretty amazing sewing machine!!!!! = DDDD So after cleaning out under there I tried again and it did it again, so I tried it with the feed dogs left UP. I have to FMQ with the feed dogs UP. No possible way I can do it down
I'm pretty happy with this for a 1st attempt, I think it looks DANG good. That was the BEST $20 I have ever spent (for the FMQ foot for my Janome.) And I'm a durned satisfied customer of Janome. I mean how much was that machine? $300-$400??? All of the stitch options and I can even FMQ - I think the ONLY thing I could want more is MAYBE a larger throat plate. But for the money this machine is OUT STANDING!!! I honestly thought I needed a long-arm to do this. OR a Bernina Stitch-regulater.
I want to thank Leah from Day Style Designs for offering her time to show all of us beginners how to quilt beautifully. Looking at her patterns can keep anyone motivated enough to keep truckin' on!
Any questions feel free to ask and I'll post more pics after my FMQ adventures tomorrow.

*******Update - March7, 2011*****
I am still free-motion quilting beautifully on the same sewing machine, but I did discover one additional thing in regards to the feed dogs. I noticed when I started quilting whole/large tops that my thread would often break when I would try to quilt to the left or upwards.
Now, when I am quilting a large quilt, and I need to go in all directions and don't want to mess with the constant threading and re-threading of my needle, I tape a piece of cardstock over the feeddogs and this helps.