
The first step is to make your bias binding and your sashing for the whole project. Both will measure 2 1/4" wide. I have provided a link below to a detailed bias binding tutorial if needed.
Part 1 - Bias Binding
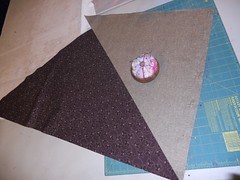
1. Cut off 5/8th yard off of your Binding/Sashing Fabric and make sure it is pressed well. 
2. Fold down one corner and then cut on the diagonal.
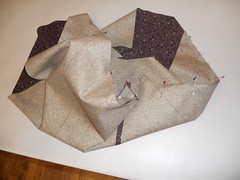
Place the cut piece on the opposite side of the piece of fabric and pin in place.
Sew Right sides together.
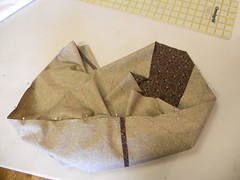
Press seams open
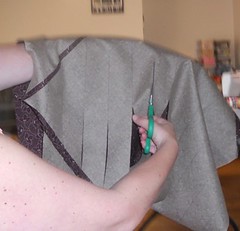
3. Draw lines parallel to the bias-cut edge of the fabric 2.25" on the WRONG side of the fabric. You can use chalk, a quilt marker, or a thin pen or pencil.
4. Now you will line up the draw lines of one side, to the opposite side, skipping the first line on one side. For a detailed Bias Binding tutorial go HERE.
5. Pin on each drawn line
6. Stitch 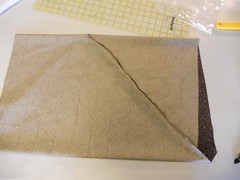
7. Press seams open. 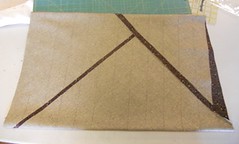
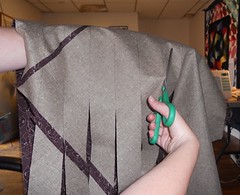
8. Cut along the drawn lines with scissors. Warning: this part is boring and tedious ;c)
9. Trim your binding, and press in half lengthwise. 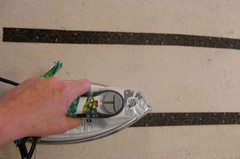
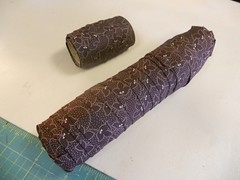
Once your binding is pressed, I recommend wrapping it around a toilet paper or paper towel center to keep it neat. Set this aside for later.
Part 2 - Sashing
This is what will connect your quilted blocks, and hold your quilt together!
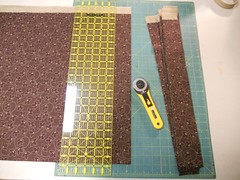
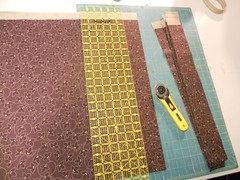
1. Press the rest of your fabric and use starch or water if necessary.
2. Cut 2.25" strips from the fabric.
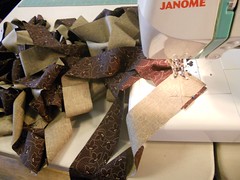
3. Pin each strip together on the diagonal (to reduce bulk) Draw a diagonal line with chalk or a pen. 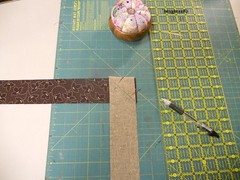
4. Stitch and press seams open, and trim dog ears.
5. Press the whole long strip in half lengthwise.
6. Wrap your pressed strip around a paper towel center to keep it neat.
My binding is wrapped around a Toilet Paper center, and my Sashing is wrapped around a Paper Towel center. There will be MUCH more sashing needed then binding. . ;c)
Set Aside for later.
No comments:
Post a Comment