Google Analytics

Showing posts with label fusible. Show all posts

Monday, January 5, 2015

Christmas Advent Quilt


I love advent calendars!  I've made several in many different varieties.
This year, I stumbled upon a photo from THIS BLOG and I fell in love.   I had an uncontrollable desire to recreate the idea into a quilt!

The artist used a wood medium, and as luck would have it, one version of the Bible Verse Luke:2.11 (The Christmas Story) has exactly 25 words. - perfect for an advent calendar!

First I created little mini quilts.  One one side I appliqued the numbers 1 through 25.  On the opposite side I embroidered a word from the Bible verse.   These are made like THESE COASTERS- and are not bound. After flipping, I quilted the little mini quilts, and made a buttonhole with my machine.

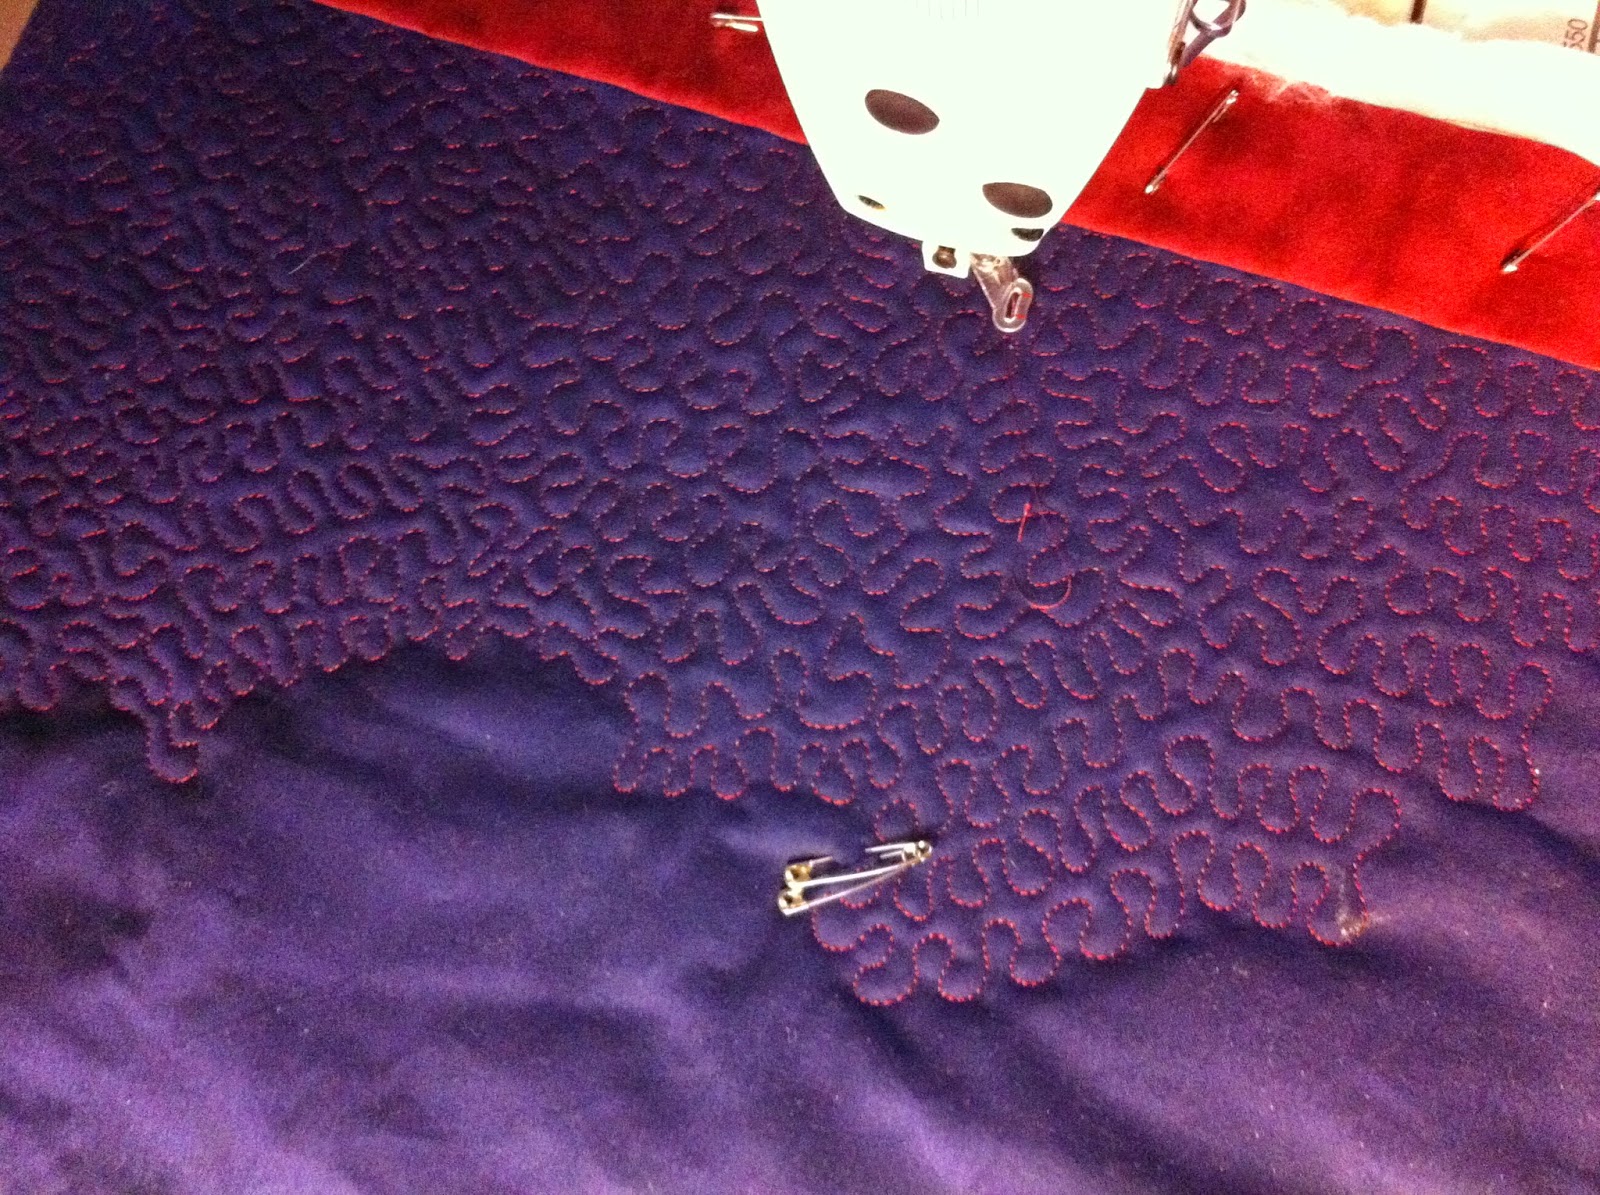
Setting the 25 mini quilts aside, I created the background for the advent calendar.  And quilted it thoroughly with a tight stipple.   For the very top of the advent quilt, I cut out a  silhouette nativity scene out of a gold fabric fused with heat N bond.  I positioned the appliques and ironed them down.  I continued doing a tight stipple over the whole quilt, saving the nativity scene for the last.


After the whole piece was quilted, I wanted to add a sleeve to the back of the quilt.   FYI I detest making hanging sleeves and would rather do just about anything  lol -  But I really thought it was important for this particular quilt.  
I tried to pin down exactly what it was I hated about making hanging sleeves, and I came to the conclusion that it's the hand sewing.  Not just hand sewing, but sewing through the thick layers and all of that bulk.   What if there was a way to do it by machine?  Surely someone has discovered a way already. . right?  So I went to google to search.  And guess what? Sure enough, there was a tutorial on making and attaching a hanging sleeve almost entirely by machine!  I was skeptical at first, but I gave it a go.  The method uses a blind hem stitch, but you can use a tight zigzag if you are careful.  The stitches don't go through to the front of the quilt.  It is just ctching the backing and a bit of the batting.  It worked perfectly!  My mind was blown and it seriously is a life changing discovery!  
If anyone is interested in this method - here is the LINK
So after the hanging sleeve was attached, I started working on the position of the mini quilts.  Once I found a placement I liked,  I made a mark with chalk through the buttonhole onto the quilt background.  I removed the mini quilts and then started to sew my buttons.  


After the buttons were sewn, I laid the mini quilts directly under the buttonhole.  I chose a navy-colored thin ribbon, poked it through the buttonhole and tied a bow over the button.   That way the mini quilts can be easily turned from front to back, but still secure.  


 The one side with the just the numbers, and the other side with all of the Bible verse Luke 2:11

"FOR ON THIS DAY IN THE CITY OF DAVID THERE HAS BEEN BORN A SAVIOR FOR YOU WHO IS CHRIST THE LORD."  LUKE 2:11


Friday, January 3, 2014

Joey's Baby Quilt

I had this very "busy" FQ bundle that my brother got me for Christmas one year from a quilt shop in California.  I've been wanting to find a quilt to use it in for a while now.  I decided to try to use it up in a baby quilt for my friend's new baby boy.   If I had to do it all over again, I definitely would have paired the FQs with some solid white, or grey, or even BLACK fabrics.  But, overall it's cute I think. .but VERYYYY "different." ;c)


Thursday, July 5, 2012

Baby Isla's Quilt


Finished:  Isla's Quilt!  
This is a double-sided quilt for my friend Alli, who is getting ready to have her first baby, a baby girl named "Isla."  Isn't that a pretty name?

 Here are the fabrics Alli picked out for her quilt.   The white background/multi colored floral print is the baby bedding.  Everything else was chosen to match.
 Here is the TOP of SideA complete - I sorta made-up this pattern, it's kind of like "turning 21" except that I switched up the pattern about 3 times.  Since the fabric was 1/2 yard cuts, I was able to get 2 blocks out of each cut.   Each block I separated into 2 piles, stacked, and cut them into various squares and rectangles.  For the remainding fabric, I cut the blocks separately, and resewed them together.
 There was only about an 1/8 yard of each of these fabrics leftover.   With this fabric I did some appliques.  I was planning on using the remainding fabric to make each letter of "ISLA" a different color.  For instance "I" would be blue, "S" would be yellow, "L" would be green, etc.,   BUT, since the fabrics were so THIN, I sewed them together and THEN traced/fused/cut the applique shapes.   I LOVED the way these turned out!!!  Whoda thunk it?!  Strip-pieced applique is born!  I don't know if this has been done before, but I will DEFINITELY be using it again..   It was born out of necessity, but I think now I'll do it on purpose just because I love the LOOK so much!
 Alli wanted a few flowers and applique shapes to go on the white side of the quilt and surrounding the name "Isla" and since I loved the look of the strip-pieced applique, I used this technique for all the flowers as well. I think it gives it a kaleidoscope look.  I think the trick is to position the pieces diagonally, or slanted a bit.
I plan to do a blog post/tutorial on just this very soon.
 Here we are quilting the quilt.  This was totally quilted except for the Ahole (The hole of the a) ;c) tee hee
 YAY finished!!
 Side B
 Side A
 For this quilt I used raw-edge, fusible applique.   With this technique you can skip a few steps and save alot of time.  FIRST you baste the quilt, THEN you fuse the applique shapes onto the quilt, THEN you stitch . . through all 3 layers of the quilt.   This gives an interesting effect to the other side of the quilt.  You can see in this photo the outline of the shapes through the patchwork.  Some people might say this is cheating, but I actually prefer this look!   I doubt it would hold up in a quilt show though ;c)
 Here's sweet little Isla's name - appliqued in the middle.
 Coming out from the name, are stems, leaves, and flowers going North, south, east, and west.
 flowers and strip-pieced applique
 Closeup of one of the letters - surrounded by stippling.