Saturday, January 25, 2014
EZ Street Finished - "Scrappy Snow Day"
Yeah, I know, that was like, LAST year's mystery. But again, I have a baby now so I'm a little behind! ;c)
I've named this quilt "Scrappy Snow Day"
I used ALL SCRAPS in this quilt! I did not buy ONE SINGLE thing that was new. . I used all the stuff in my stash that had been collecting dust for years and years. All of my UGLYYYY fabrics. This is just to keep us warm. I wasn't trying to make a "pretty" quilt. I was just trying to use up some uglies. Bonnie patterns are always a LOT of work, but so worth it! I'm hoping this will replace my OLD bonnie quilt "Carolina Christmas" that has been used in rotation on my bed that I LOVE LOVE LOVE LOVE LOVE! I need to retire it because it is falling apart. Of course when I made THAT quilt I did NOT use an accurate seam allowance nor did I know how to free-motion quilt (which makes the seams last longer.) Also, I didn't know the importance of using bias binding. So. . the edges are fraying and worn out. I'ts been washed weekly though, for how many years? 5? 6?
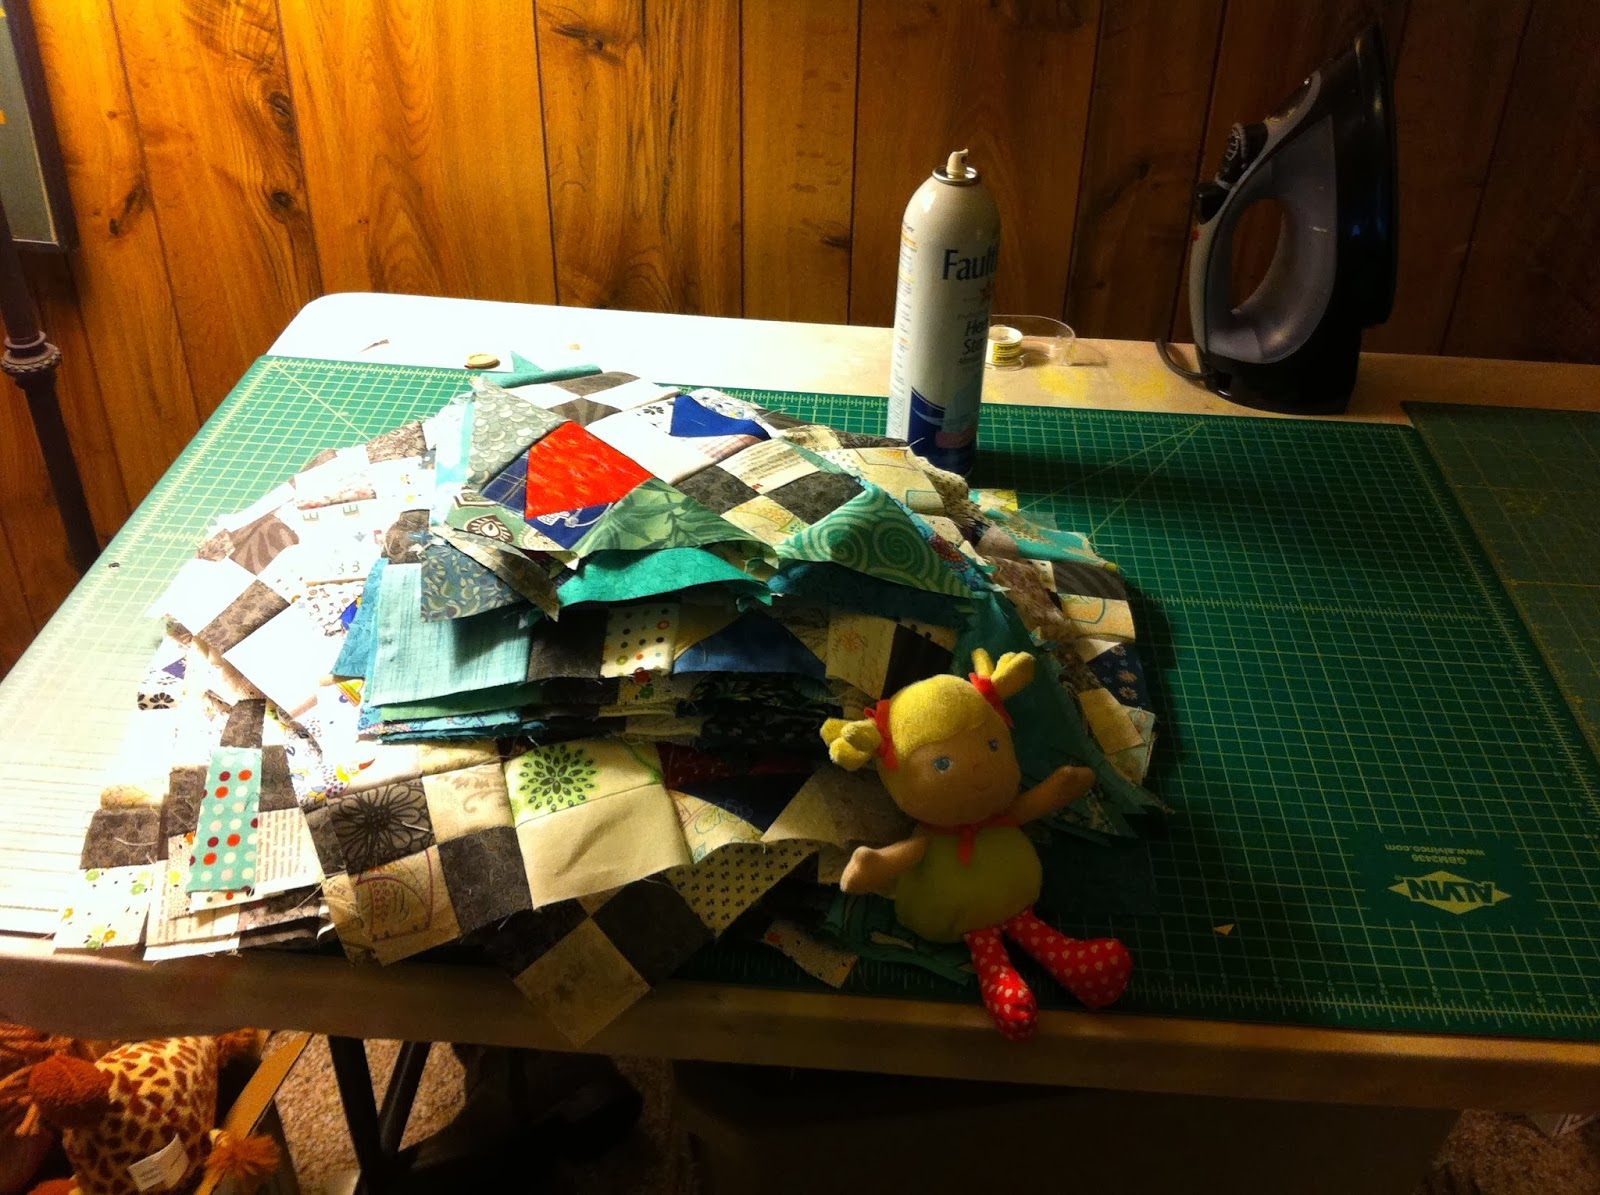
Here are all my pieces ready to sew! I had already finished the 4-patch step!
Here is my finished blocks and triangle pieces.
Finished top - OH POOP! I messed up. . oh well, I'm keeping thisquilt so I'm leaving it ;c)
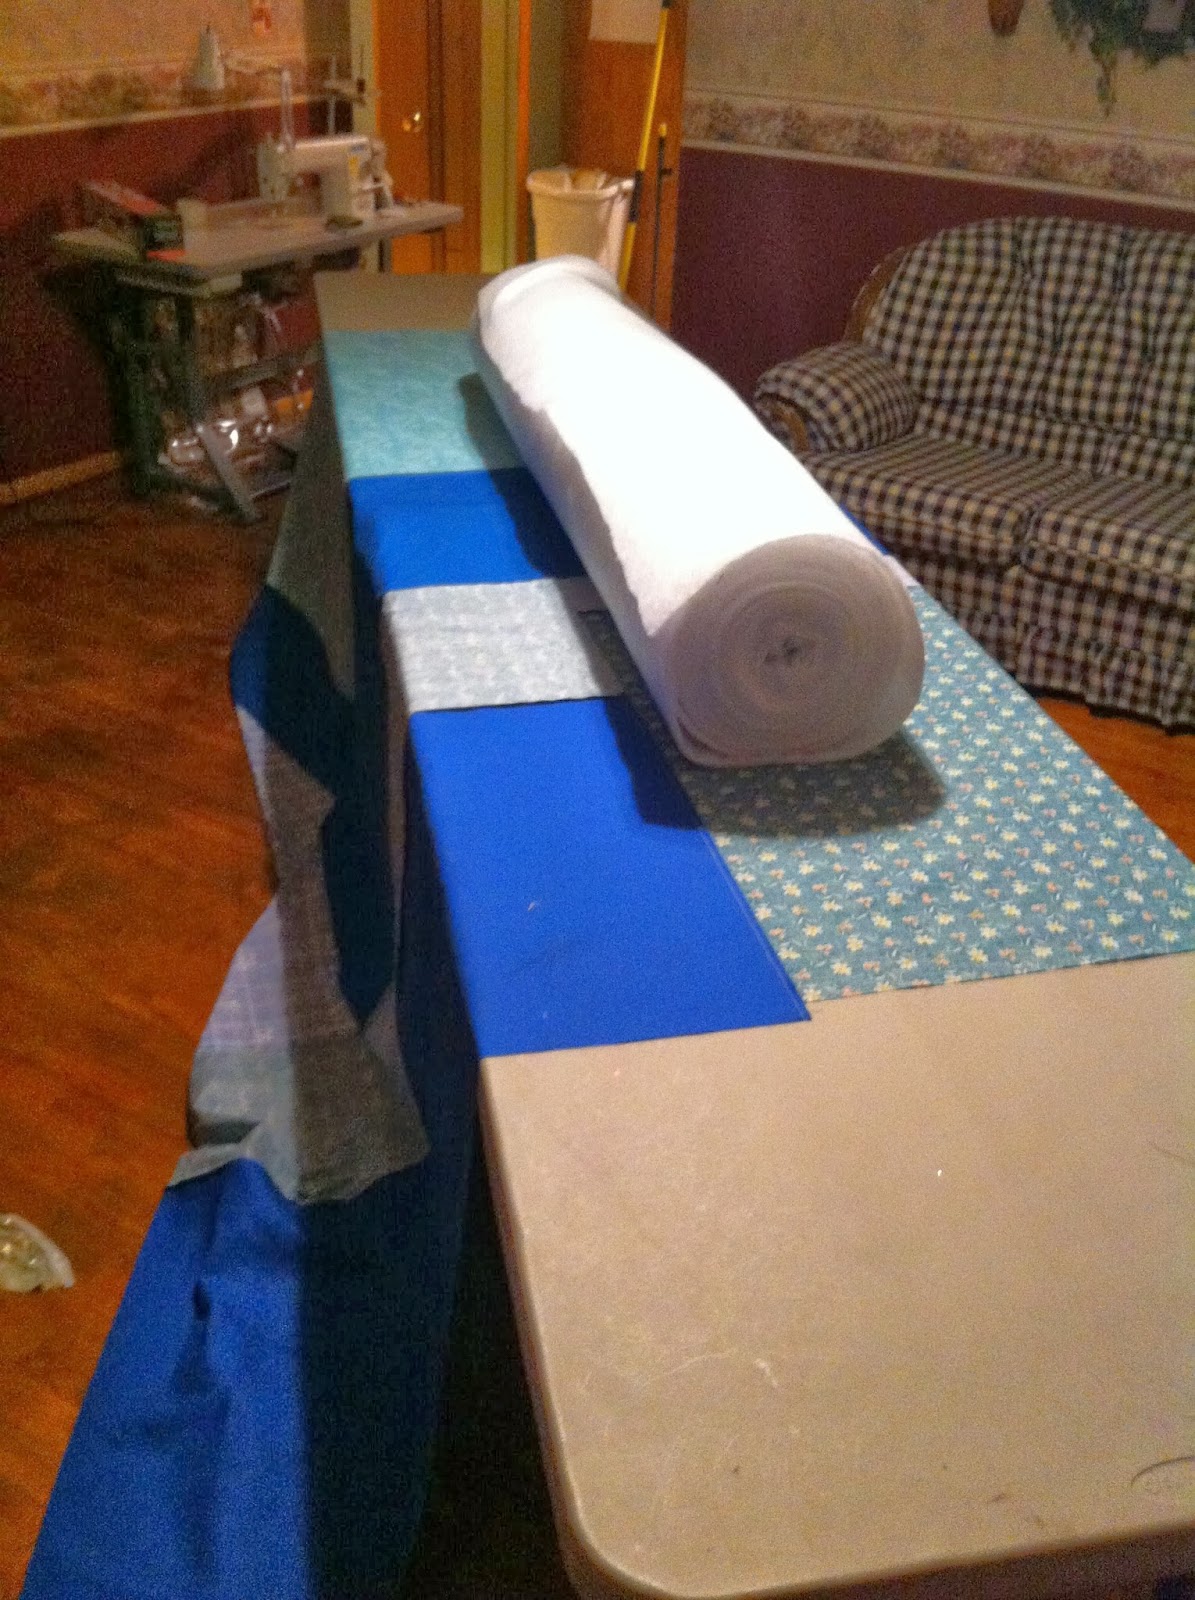
Here I am getting ready to baste - I had to push two big tables together - this was a bigggg quilt!
basting, basting....
anddddd DONE!
It's a snowy day here in Milton, WV - I used my fence as a quilt model ;c) It's very windy too!
Scrappy Backing!
Brrrrr. . windy!
The footprint of my husband's shoes haha
My foot print in the deep snow drift!
Labels:
Bonnie Hunter,
Easy Street,
EZ Street,
footprint,
free-motion,
meandering,
mystery,
quilt,
scrap,
scrappy,
Snowing,
stipple,
stippling,
ugly fabrics,
ultimate
Friday, January 3, 2014
Quilt made of Silk Neck Ties
Front/Back
My Step-mother's Dad passed away a couple years ago and she gave me all of his old ties. I took them apart and made this quilt. The blocks were 8" and sewn over a leave-in lightweight foundation. I just added them free-form like hidden wells sorta.
I quilted his full name "Paul Fredrick Harris" in the quilt on the diagonal. I outlined quilted that a few times,, and in the rest added large spirals. I also added two large stylized feather plumes on opposite corners and outlined that a bit. Here are some closeups of the quilting:
Labels:
charleston,
donna hager,
foundation piecing,
interfacing,
memorial quilt,
neckties,
Paul Harris,
quilt,
quilted,
silk,
ties,
WV
3 GWHS Basketball Quilts
Here's a photo of all 3 quilt tops and their corresponding graphs. ;c) This is how I make all of my T-shirt quilts!
My Quilt Guild Challenge Project
Each Year around Christmas, our Quilt guild does a challenge project. . similar to the Hoffman Challenge. We are given two FQs of supposedly "ugly" or mismatched fabrics and we are supposed to make a quilt of them. There are several categories and the winners receive gift certificates to our local quilt shop! It's SO much fun and I look forward to it every year! This year, as you know, I have a new baby girl. I seem to always forget which Monday my guild meeting is held on. This year, I look at my phone a couple days after the Christmas guild meeting. .and I realize I Have MISSED it!! So dissapointing. Oh well, I won't win anything, but I'll take my project to the next guild meeting and show it off ;c) I'm just sad I will have missed all the other ones. I love seeing what everyone can do with the same fabrics.
My Challenge project is titled "Home-Sweet-Home" and is inspired by a whimsical family tree. The family tree aspect is especially meaningful to me this year with my new addition to our family.
This year the FQs matched PERFECTLY. . so it was hardly a challenge to match them haha. The two fabrics I used for the quilt's borders, and also the large-print floral fabric I used for all of the leaves. I embroidered "The Wiseman's" on the top, and used raw-edge fusible applique for all the pieces. I quilted around the small areas with pebbles, and the larger areas with spirals. There is a straight feather in the borders (which I don't like becuase I Used too light of a color of thread ugh) no way I would undo it though! LOL
My Challenge project is titled "Home-Sweet-Home" and is inspired by a whimsical family tree. The family tree aspect is especially meaningful to me this year with my new addition to our family.
This year the FQs matched PERFECTLY. . so it was hardly a challenge to match them haha. The two fabrics I used for the quilt's borders, and also the large-print floral fabric I used for all of the leaves. I embroidered "The Wiseman's" on the top, and used raw-edge fusible applique for all the pieces. I quilted around the small areas with pebbles, and the larger areas with spirals. There is a straight feather in the borders (which I don't like becuase I Used too light of a color of thread ugh) no way I would undo it though! LOL
Rachel's Queen-sized T-Quilt - Christmas Gift from Mom
I absolutely LOVE the way this T-quilt turned out! I was given about 100 shirt sides (front and backs) to use in this quilt. I had her narrow them down to about half that much LOL and I STILL didn't think I would be able to fit them all in! Well,we did it. And since all the shirt logos are all sorta "smushed" together, it really gives the quilt a fun look!
Another reason this quilt looks so good is because it is so colorful. There is only so much a quilter can do when you only have black/white/grey shirts to work with ya know? ;c) The T-shirts themselves are the main source of color. that's why I always ask people to include at least ONE tie-dye. Just one tie-dyed shirt can be spread out throughout the whole quilt and provides SOO much color!
Here's the graph I used for this quilt. Very busy! Very fun!! an OCD person's dream come true! <3 nbsp="" p="">3>
Labels:
Basketball,
graphed,
quilt,
Sports,
T-shirt quilt,
Tquilt,
WV
Joey's Baby Quilt
I had this very "busy" FQ bundle that my brother got me for Christmas one year from a quilt shop in California. I've been wanting to find a quilt to use it in for a while now. I decided to try to use it up in a baby quilt for my friend's new baby boy. If I had to do it all over again, I definitely would have paired the FQs with some solid white, or grey, or even BLACK fabrics. But, overall it's cute I think. .but VERYYYY "different." ;c)
Labels:
alphabet,
Applique,
boy quilt,
busy,
elizabeth porter duke,
fQ bundle,
fusible,
heat-n-bond,
modern,
raw-edge
Tuesday, November 5, 2013
*NEW* Quilt Designs - Downloadable PDFs - For Sale
I've been hard at work (now with a baby on my lap) designing my most requested quilt patterns as a downloadable PDF. The three most popular patterns are now available for purchase and download on etsy.
Don't make fun of the names of these patterns, I am TERRIBLE at naming things LOL. The first pattern "MY HAPPY OWL" is an applique pattern that I designed for a friend's baby shower. This quilt uses a raw edge, fusible applique technique. Besides a package of fusible stabilizer, and white background fabric, you should be able to complete this quilt with scraps.
This next pattern titled "OWL DUET" is very similar to the first quilt pattern, except it features TWO owls.
And finally, I think this next pattern is THE most requested of all. The ever-popular CROWN ROYAL quilt. I have titled this "ROYAL STAR." People who are wanting to start their own Crown Royal quilt have been emailing and messaging me asking me for help. I am hoping that this 8-page booklet will help everyone make their own "unique" Crown Royal quilt from start to finish.
I have included the fabric requirements including borders, binding, and backing for 7 different sizes. I have also included a chart that includes the counts for all pieces needed for each size. Pieces include blocks, cornerstones, sashing, border strips, binding strips, and all the pieces that make up each star block. There is also a LAYOUT chart where you can clearly see how to layout each piece for assembly in each of the 7 different sizes. Also, there is a detailed bag deconstruction section with photos. That being said, you will still need basic quilt knowledge and work at a beginner quilt level to succeed with this project. But, I am still here if anyone needs help or has questions. Albeit it may take me a little longer to respond now that I have a baby attached to my hip ;c)
https://www.etsy.com/listing/168133712/pdf-royal-star-quilt-pattern-booklet?
Head on over to my etsy shop now! and Thanks!
Don't make fun of the names of these patterns, I am TERRIBLE at naming things LOL. The first pattern "MY HAPPY OWL" is an applique pattern that I designed for a friend's baby shower. This quilt uses a raw edge, fusible applique technique. Besides a package of fusible stabilizer, and white background fabric, you should be able to complete this quilt with scraps.
This next pattern titled "OWL DUET" is very similar to the first quilt pattern, except it features TWO owls.
And finally, I think this next pattern is THE most requested of all. The ever-popular CROWN ROYAL quilt. I have titled this "ROYAL STAR." People who are wanting to start their own Crown Royal quilt have been emailing and messaging me asking me for help. I am hoping that this 8-page booklet will help everyone make their own "unique" Crown Royal quilt from start to finish.
I have included the fabric requirements including borders, binding, and backing for 7 different sizes. I have also included a chart that includes the counts for all pieces needed for each size. Pieces include blocks, cornerstones, sashing, border strips, binding strips, and all the pieces that make up each star block. There is also a LAYOUT chart where you can clearly see how to layout each piece for assembly in each of the 7 different sizes. Also, there is a detailed bag deconstruction section with photos. That being said, you will still need basic quilt knowledge and work at a beginner quilt level to succeed with this project. But, I am still here if anyone needs help or has questions. Albeit it may take me a little longer to respond now that I have a baby attached to my hip ;c)
https://www.etsy.com/listing/168133712/pdf-royal-star-quilt-pattern-booklet?
Head on over to my etsy shop now! and Thanks!
Labels:
bags,
Crown Royal Quilt,
deconstruction,
DIY,
downloadable,
etsy,
free-motion,
fusible applique,
owl,
owls,
pattern,
pdf,
quilt,
Tutorial
Wednesday, July 31, 2013
Twisted Log Cabin
I made a 2nd Twisted Log Cabin quilt, again using my hand dyed gradated fabrics, but this time with a BLACK and grey background. My original TWISTED LOG CABIN quilt post is still my most popular post on my whole blog! Unfortunately though, that quilt is ruined because I used a yellow chalk to mark quilting lines and it would NOT come out in the washing machine. =c(
I can't believe I haven't uploaded a photo of this quilt yet!!! I still haven't had a chance to get a decent photograph of it, but today it is raining, so an indoor photo will have to suffice . . for now.
My cut-out colored paper pieces, and my LIST
and here are all of the fabric pieces to start the sewing!! I just LOVEEEE the organization part of this quilt! (I know I am sick)
Here are all of the finished sewn triangle pieces laid out on the table. Thank GOD they all fit!!! ;c)
This is what my floor looks like next to my sewing machine when I am paper piecing ;c) I just go and snip the excess fabric off using scissors.
The back of the quilt looks cool too. But now it was time for the hard part - pulling out all the paper! Here are some photos of me pulling out some of the paper pieces.
The finished center/top. I added some black borders to this to make the quilt rectangular. I wanted to do some fancy fun feathers to this ;c)
Here I start the quilting in the black/grey areas, little half feather motif.
I just loved the way this center pinwheel looked once it was quilting!
Here are all of the finished black/grey areas!
and. . this is a horrible photo, (i promise I'll get some better ones ASAP) . . but I wanted to get a picture of the colored areas. I wanted the colored pinwheels to really POP. . even stick out a little bit. . so I did a very simple motif in this area. I did a curved sorta outline around each "petal" and then did a curly-Q in the center. I liked the way it turned out!
In the borders/outer black areas, I did a very tight feather motif. I actually DON"T like what I did in this area as much. . .BUT. . It is a very dense quilting design. . . almost TOO dense I think. I feel that if I made the outer feathers a bit fatter I would have been more satisfied ;c)
Labels:
black grey,
feathers,
gradated dyes,
hand dyes,
quilt,
rainbow,
Twisted Log Cabin
Saturday, April 6, 2013
It's a girl!
Just in case you haven't heard the news. I'm PREGNANT!!
. . . with my FIRST child. . a girl =c)
My husband and I are blessed beyond measure! We give God all the Praise and Glory!
Can't wait to meet our new addition - estimated arrival: September 1st!
Subscribe to:
Posts (Atom)