I had a really hard time figuring out how to add a flickr Slideshow to my blog. Once I figured out how to do it, I realized I was trying to make it much more difficult than it really is.
If anyone out there is curious as to how to embed a slideshow from flickr onto your blog I will try to explain it here.
1. Go to Flickr and open and account if you haven't already done that.
2. Choose "upload" and upload any and all photos you wish to include in your slideshow.
3. Once the photos have been uploaded you have the option to add a description and tags. . go ahead and do that now.
4. While you are still on that same screen - at the top right hand corner there will be an option to "add to set" or "create new set." You will want to create a NEW set. Choose a name and description for your set and save.
5. Once you have saved, go BACK to the flickr homescreen. (Just click on FLICKR logo.)
6. Click on the link that says "YOUR PHOTOSTREAM" now all of your photos will show up to the left, and your SETS will show up on the right hand column of the screen.
7. Click on the set that you just created. Your set will show up and in the top right hand corner there will be an option to VIEW SLIDESHOW.
8. Choose the VIEW SLIDESHOW option and then you will get this screen:
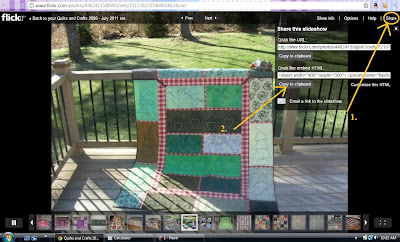
9. At the top right hand corner there will be an option to "SHARE"
Click on "SHARE" and then click the 2nd code that will give you the HTML "embed" option.
Copy to your clipboard and then go to your blogger screen.

10. If you would like to include the code in a Blog Post, Copy-Paste the code here.
Now you have you can preview your Slideshow, and Publish your Post! ;c)
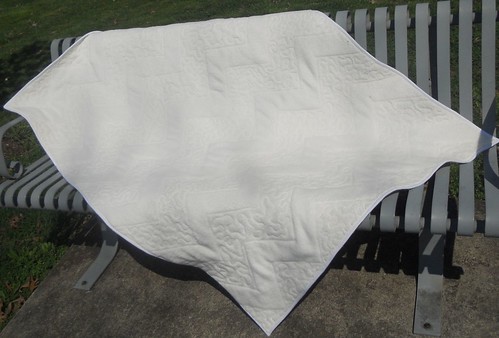
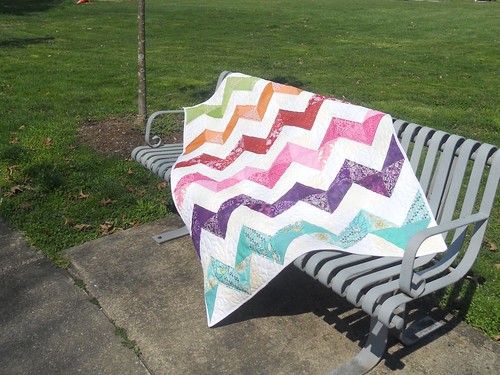
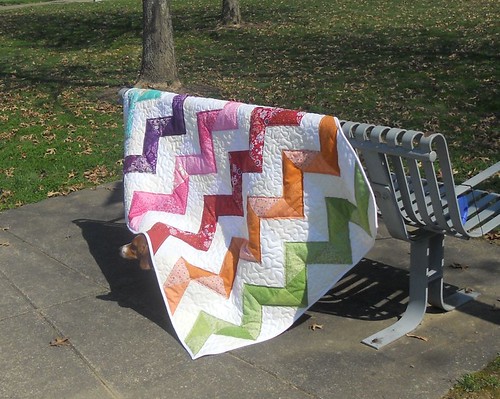
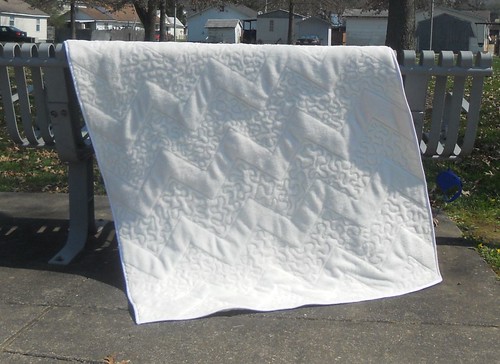
This is a slideshow I just made that includes all of the quilts and things I have created since 2006.
You can also add a slideshow to your blog by adding a GADGET.
Go to your DASHBOARD and click ADD GADGET.
Choose the HTML option. Enter the embed/HTML code from flickr and then save.
Now the slideshow will be on your sidebar of your blog for everyone to see.