Google Analytics

Showing posts with label free pattern. Show all posts

Wednesday, July 6, 2011

*PART 5 - Finishing the Quilt*

You're almost there!!! You should now have something that looks like a quilt! Congratulations!

All that's left is binding!
If you want to add a label, now would be a good time to start thinking about that.
A quilting sleeve? Now would be a great time to add that too~!

Your binding is already made, so now all you have to do is add it.

I told you this quilt was made totally by machine . .and the binding is no exception. You are going to be adding the binding in a manner that is very similar to the way you did the sashing.

Part A ~ Attaching the Binding to the Back.

Turn the quilt over so the BACK is facing you. We will first be sewing the binding on to the BACK side of the quilt.

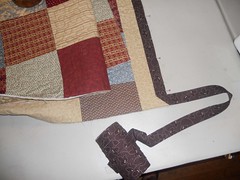
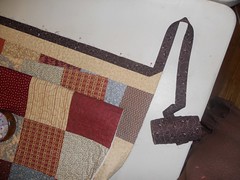
1. Start in the center of one side of the quilt. Leave a tail of about a foot, and start pinning the sashing down.
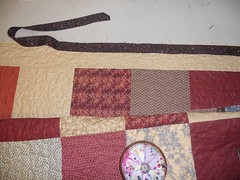
a1

2. Pin until you get to the first corner.
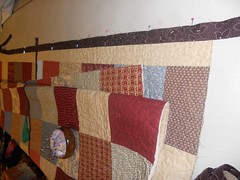
a3

Fortunately, I got lucky and did not run into the problem of a seam landing in one of the corners. You do NOT want a seam on one of the 4 corners of your quilt. If a seam happens to land on one of the corners, you will have to readjust the binding. Un-pin, Adjust, and RE-pin until you have seamless corners.

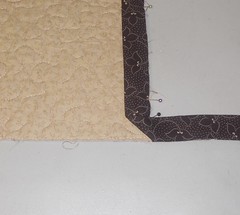
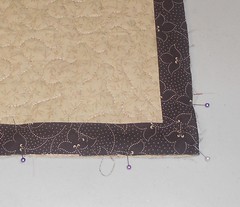
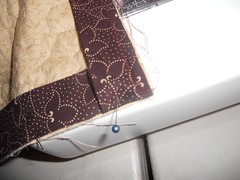
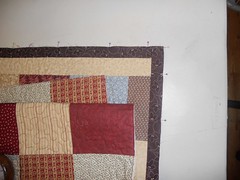
3. Pin about an inch away from the edge, and then fold the binding away from the quilt, perpendicularly. (click on photos to enlarge) Pin in place, diagonally from the corner.
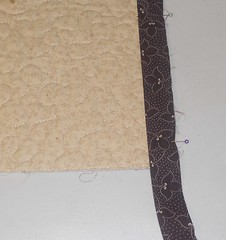
a7 a4 a5 a8

4. Fold the binding back down, and pin in place.
a6 a9

5. Continue pinning until you get to the tail end of the binding.

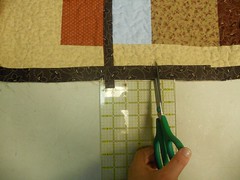
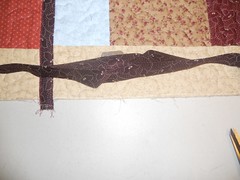
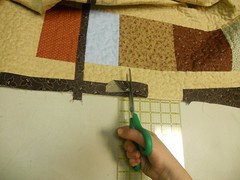
6. At this point you should move this side of the quilt onto a cutting mat or wide ruler. With scissors, trim off the diagonal edge of one side of the binding so it is straight.
b1

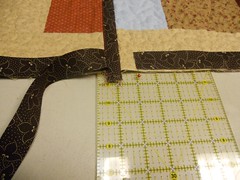
7. Line up the cut edge of the binding with one of the inch marks on your ruler/grid and pin in place (close to the edge.) Use a large pin so you can see it.
b3

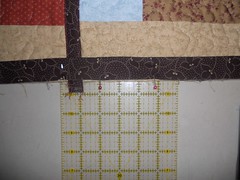
8. Lay the opposite edge of the binding over top of this piece. We cut our binding at 2.25" so there should be 2.25" overlapping. Pin the opposite edge down, and cut at the 2.25" mark with scissors.
b4 b5

9. Remove the pins that are to the left and to the right of your cut pieces. You will need a little "give" for the next step. =c)
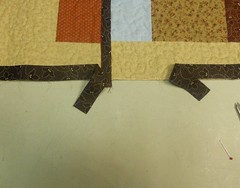
b7

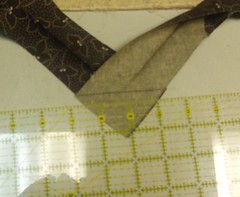
10. With Right Sides Together, Pin your binding strips together on the diagonal. The reason I ask you to FIRST pin them on the diagonal is because we are going to TEST to make sure the strips aren't twisted, and we have them going in the correct direction. So now that they're pinned, go ahead and "pretend" it's already sewn, and lay it next to your quilt to ensure that it's correct.
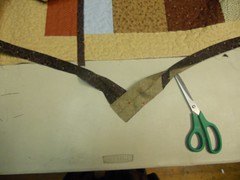
b8
b9

11. Now that you know everything's correct, take a ruler, and draw on your diagonal sewing line with a pen, pencil, chalk or whatever.
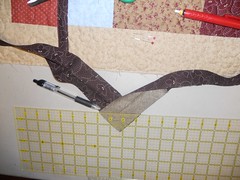
c1 c2

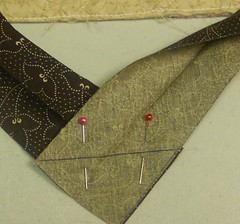
12. Pin in place.
c3

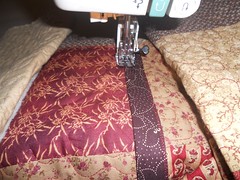
13. Lower your stitch length a bit, and then stitch in place.
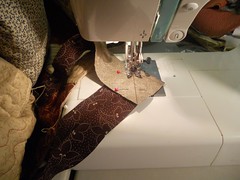
c4

14. Trim your seams, and Finger-Press your seams open. (You can press these seams open with an iron if you wish, but I never do.)
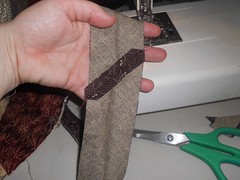
c5

15. Fold your now sewn seam back in half and finger press. Pin the rest of the binding to your quilt back.

16. Stitch 3/8" seam all the way around, stopping at corners.
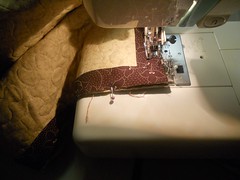
c6

17. Once you get to a corner, stop, fold your binding away and pin on the diagonal. Make sure to pin right before your folded binding. (see photos)
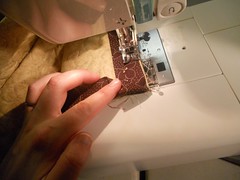
c7

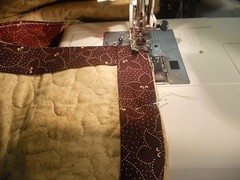
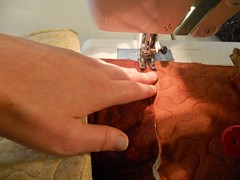
18. Stitch until you get to the pin. Remove Pin, and then Stitch diagonally to the corner.
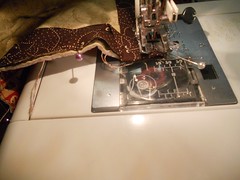
c8 c9

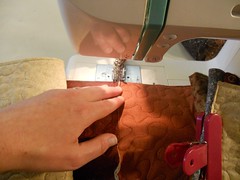
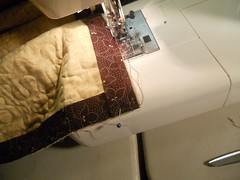
19. Remove the quilt from the machine, and fold the excess binding back up and place the quilt back under the presser foot. Begin stitching over the folded binding 3/8" away. Continue stitching and repeat at each corner until you're finished.
d1 d2

Part B ~ Finishing Binding.

Flip the Quilt over so the TOP is facing you.

1. Gently pull the binding from the back to the front and finger press in place. The binding should just cover the stitching line you just stitched.

Keep scissors near by - remove straggly strings as you go.

2. Pin in place. I use either Pins or plastic-coated paper clips for this step. When you get to a corner, make sure you fold a nice pretty mitered corner and pin in place. This will make it much easier for you when you are stitching. d3
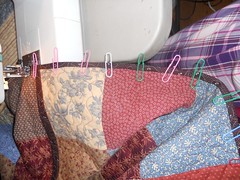
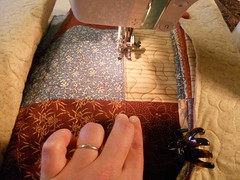
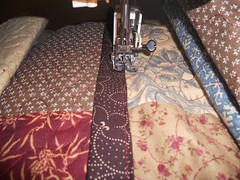
3. Begin stitching a straight stitch approximately 1/8" from the folded edge. The stitching should just blend into the quilt.
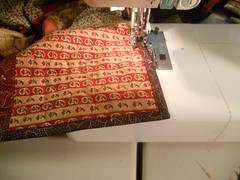
d4

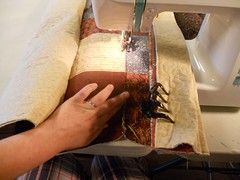
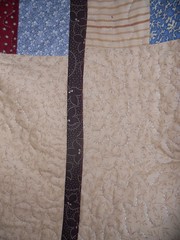
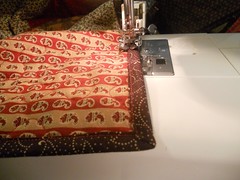
4. Once you have stitched once around the complete quilt, I recommend doing a 2nd stitching line as well. When stitching the 2nd line of stitches, quilt as close to the folded edge as possible. This step will go MUCH faster since you don't have to remove any pins. ;c)
d5

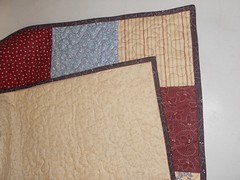
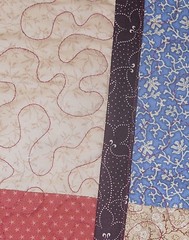
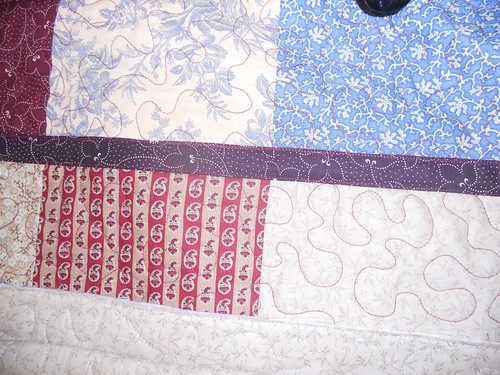
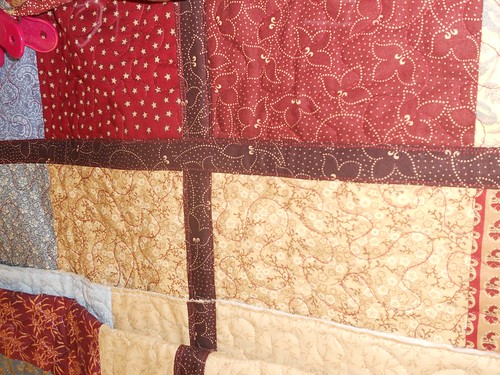
Your quilt binding/corners should look similar to this:
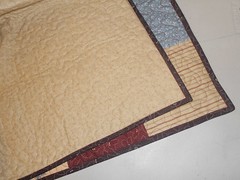
d6 d7

Once you're done with the binding, give your quilt a nice pressing with steam or water. Pay close attention to the sashing and remove any straggly or stray strings as you go.
If you wish, wash and dry your quilt. Once you're finished, make sure you take a photo and name your quilt. I would LOVE to post a photo of your quilt here!!

If you have ANY questions, leave them in the comments section and I will respond to them ASAP.

Tuesday, July 5, 2011

*PART 4 - Joining Blocks*

Part A ~ Connecting the Rows

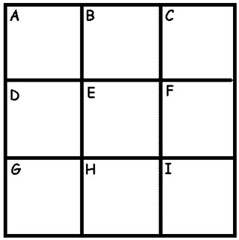
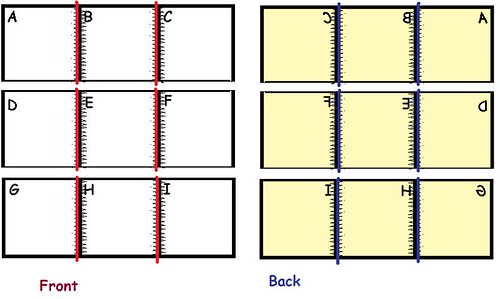
Before sewing, arrange your blocks in a manner that is pleasing to you. Keep them in order by labeling the blocks. Write the letters "A" through "i" in the top left hand corner with chalk.
9patchGrid2

Click on any of the photos if you would like to view them larger.

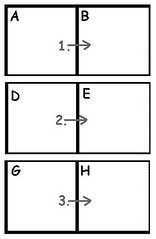
1. Lay out blocks "A" and "B" and butt them next to each other.
6a 6a2

2. Pin at each 6" interval like this:
6c2

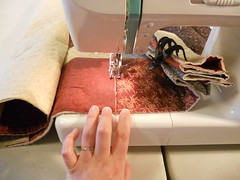
3. Set your machine to a wide zig zag stitch. You can use ANY type of thread for this stitch because it will be covered up later. Clamp the side that will be going through the throat of your sewing machine. This is how it should look before you feed it through the machine for each step:
6d

4. Remove the first pin, and place the quilt blocks under the machine foot, and lower the needle into one side.
6e 6f

5. Begin to stitch a wide zig zag stitch for about ONE INCH.

6. Remove the next pin, and make sure the next two seams are matched. Stitch until you get ONE INCH past the next seam, easing the two sides together so they match.
6h 6i 6j

*****This is the reason I chose this design for a beginner QAYG tutorial. If you are using a different design, mark your intervals at 6" or so with chalk on both sides. This way you can ease the sides to match gently. It is VERY easy to end up with an extra INCH or so hanging off one side if you're not careful.

8. Repeat this until you are finished stitching together sides "A" and "B"

9. Repeat these steps but this time with sides "D" and "E", - and - "G" and "H"
Grid1
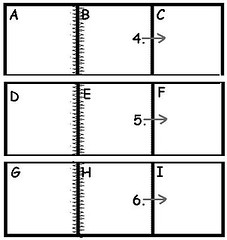
10. Now you will add the 3rd block in the row
"C" gets added to "A/B"
"F" gets added to "D/E" and
"i" gets added to "G/H"
Grid2
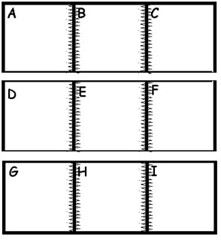
11. Now you should have 3 rows of 3 quilt blocks. "A/B/C", "D/E/F", and "G/H/i"
Grid4

Part B ~ Add Sashing Strips to Rows

Set your machine up with thread to MATCH the SASHING Fabric.

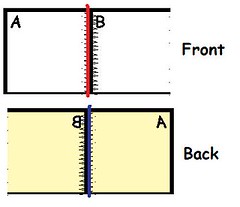
1. Start with the A/B piece. Grid6 Turn the row over so that the backing is facing you. Lay a strip of folded sashing on one side of the sewn blocks. Pin in place.
7a

2. Flip the piece over. Lay another folded sashing strip on the front side. Pin in place, in between the pins from the back side.
7c

3. Flip the piece over and remove the pins from the back side.
7d

4. Turn the piece over again, the top should now be facing you. Place the pins from the back, in between the pins in the front. (The more pins the better.)
7e

5. Place the piece in the machine and stitch a wide 3/8" seam. Remove the pins as you stitch.
7f

6. Repeat the previous steps for piece D/E, and G/H.
Grid7 Grid8
7. Now starting with the A/B/C piece you will add the sashing strips between blocks B/C, E/F, and H/I
Grid5
Refer to this grid if you get confused about which side to sew the sashing strip.
Your sashing is now attached to ONE side of BOTH the front and the back of the pieces. Begin the next step with any piece, and you can CHAIN STITCH until you finish with all of the rows. Just keep feeding the 3 rows through until you're done.

8. Starting with the BACK facing you, fold over the folded edge of the sashing to the opposite side of the stitching. Pin in place.

9, Stitch down the folded edge approximately 1/8"
8b

10. Flip piece over so the FRONT is facing you. Do the same for the back sashing. Fold over, pin in place, and stitch 1/8" from the folded edge.
8a

11. the FRONT should now be facing you.. Stitch another row of stitches, as close to the folded edge as possible, or just within the 1/8" line of stitching. This row of stitching is just for security.
8c

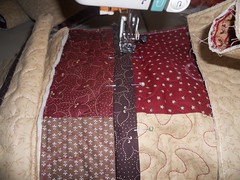
12. For the final stitch you will be doing a TOPSTITCH. (stitching line on the opposite side of your previous stitches - This stitching will go over your seams.)
8d

13. This is what it will look like on the front. You should see 2 rows of stitching on ONE side, and one row of stitching on the other side. From the back you will see 3 lines of stitching on one side, and one line of stitches on the other side.
8e

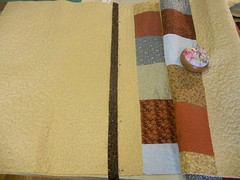
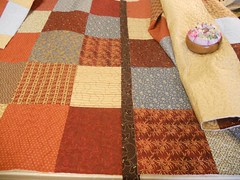
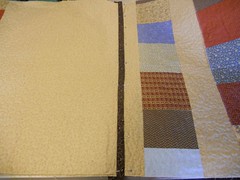
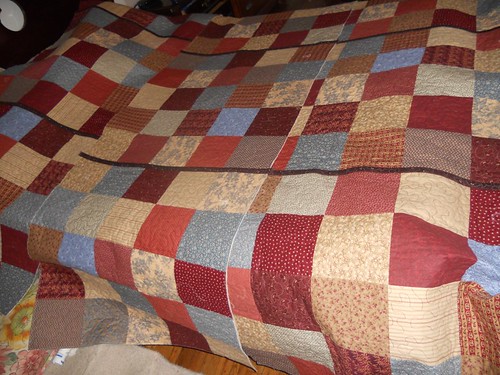
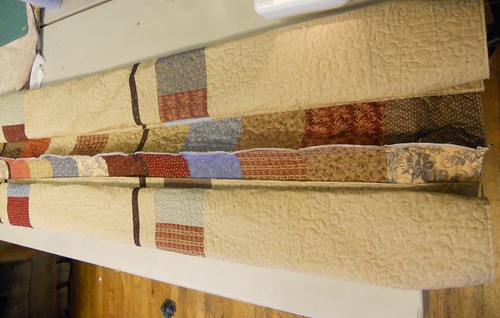
This is the 3 completed rows of stitching laid out on the bed:
7g


Part C ~ Connecting the Rows

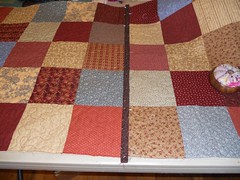
Now you are going to join the rows into columns. This is done exactly like the previous steps were done. Start by trimming any excess sashing.

1. Lay out row A/B/C and butt it up next to D/E/F . Fold in the edges, and clamp the side that will be fed through your sewing machine. Start by Zig-zagging, and THEN add your sashing as in previous steps. This is what it will look like pinned and ready for your Zig-Zag Stitch.
9a

2. Take care to not only match up 6" squares/intervals, but also the sashings.
9b

3. Repeat the previous steps but this time you're joining the D/E/F side to G/H/i