

I've had several people ask me how I baste my quilts. I wanted to take a moment and share my method. I learned this method from the amazing and talented Sharon Schambers, although I use safety pins and she is dead-set on needle and thread basting. ;c)
Please see Sharon's original videos HERE - She is AMAZING!
http://youtu.be/bhwNylePFAA
Here's what you'll need:
A Large Flat surface (like a church table)
TWO 2x4s - Sanded smooth and longer than your quilt is wide. (Mine are 8 feet, too big for most quilts but you'll need them to be this large or larger if you make alot of Queen and King sized quilts.)
Lots of Fat Safety Pins
An Iron
Spray Bottle with Water
HIGH Loft Polyester Batting.
** 11.15.2014 - I am still using these same basting boards and tables for every quilt I make - and it still is amazing. However, I now use only ROLL batting, so pressing the quilt and batting is definitely NOT necessary anymore. If you use the batting that comes folded and squished into a bag though, you might want to continue the spritz/press process. I only do free-motion quilting with my Janome DC2010 or my Juki DDL 8700 - and I am proud to say that I have not had a pucker on any of my quilts since I started using this method. Skip to step 4 if you are using batting on a roll***
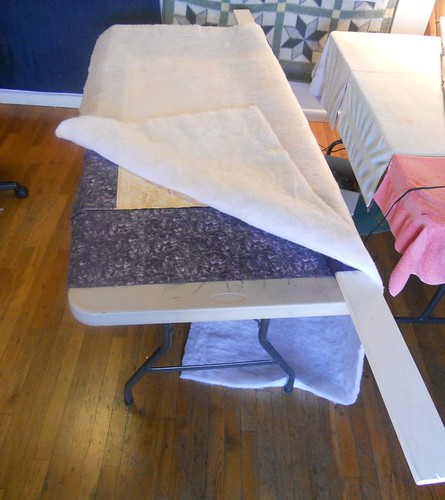
1. On your table, layer the backing , Batting, and Top JUST like it would appear in the regular quilt.
2. Starting in the center, press your quilt together flat and smooth with your iron and spray bottle of water. (Skip to Step 4 if you are using smooth batting from a roll)
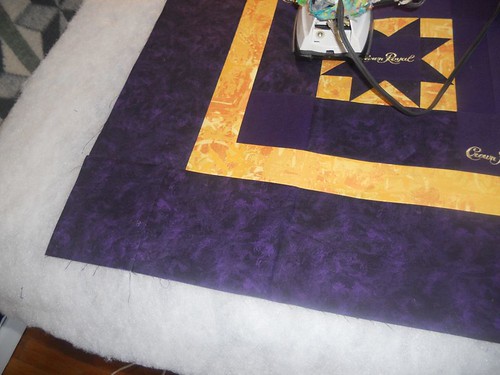
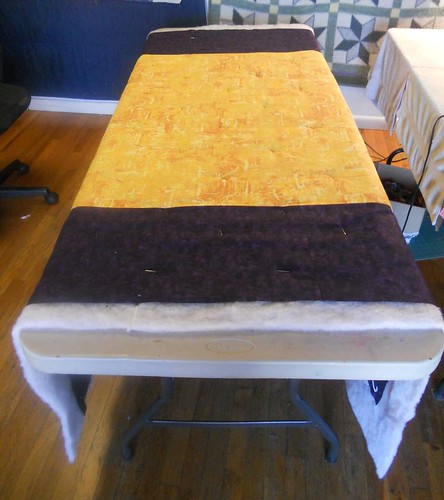
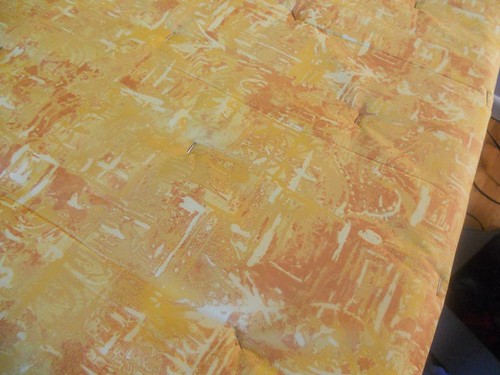
Make sure to PRESS, not IRON. In this photo you'll see where I have previously pressed the batting smooth, and what is still left to press.
3. Press the center, and then the sides/edges completely. Hold your iron down for a few seconds in each area. Here you can see what part of the batting has been pressed and what part has not.

This will make it easier to position your batting when ready.
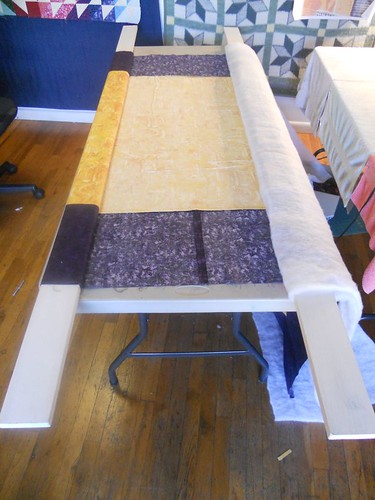
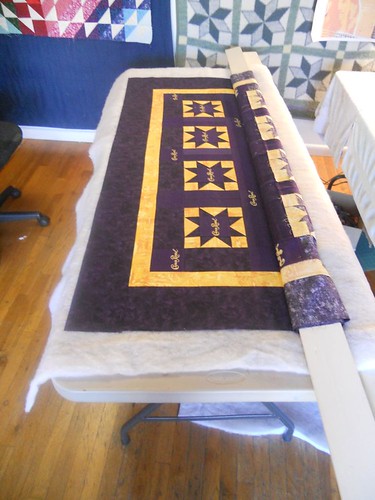
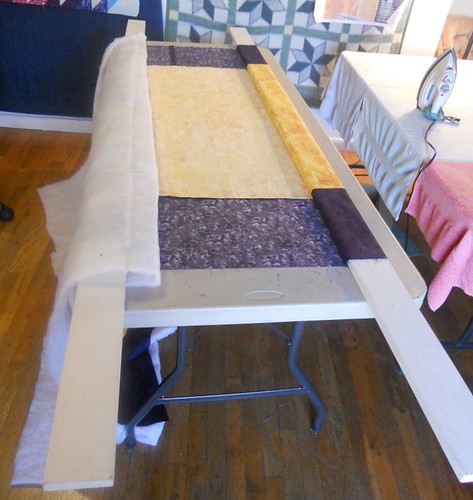
4. Align your quilt sandwich with the edge of your table. Lay your first board on top of the quilt top and align it with the edge of the top.

5. Start rolling your quilt top over the board until you run out of table.
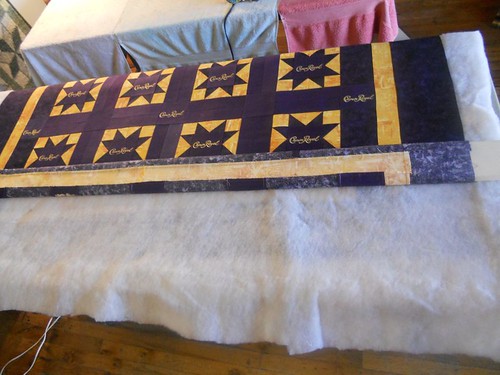

6. Now take your batting and throw it over the table so you can access the quilt backing.

7. Align your next board up with the edge of your quilt BACKING. Start rolling your quilt backing over the board until you run out of table.


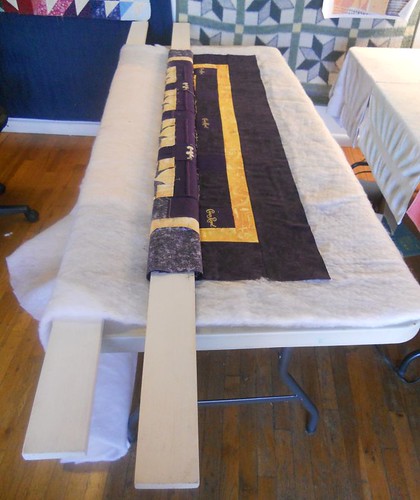
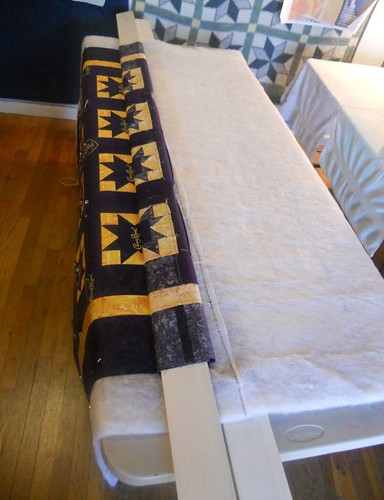
8. Now you need to grab the board that's closest to you, and pull the whole thing towards you and the end of the table.

9. Pull your batting back to the front, and start rolling more of your quilt top around the board. Keep rolling until you run out of table. Make sure to keep your quilt top and backing nice and smooth as you are rolling.

10. Throw your batting back over the table so you can access the quilt backing. Roll the backing around the board until you run out of table.

11. Continue rolling your boards until you get to the end.

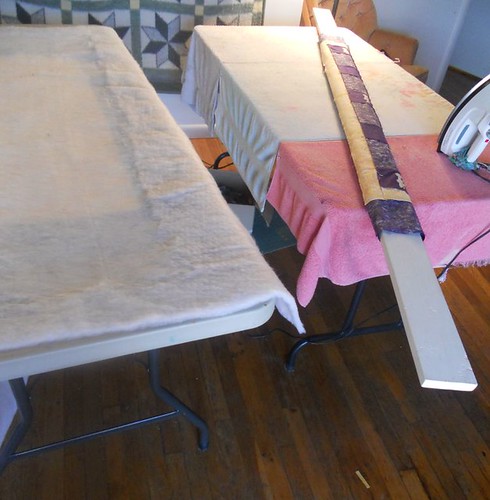
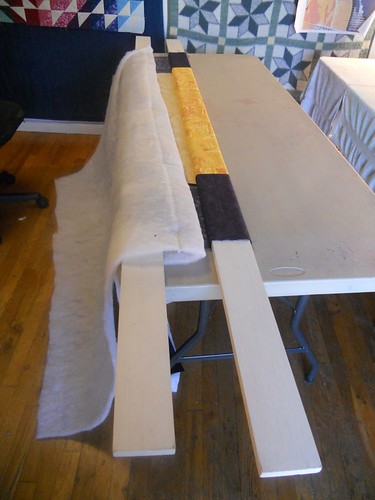
12. Lay your rolled quilt top over to the side. Remove the batting and lay that to the side, and then finish rolling your quilt BACKING and then lay that to the side.
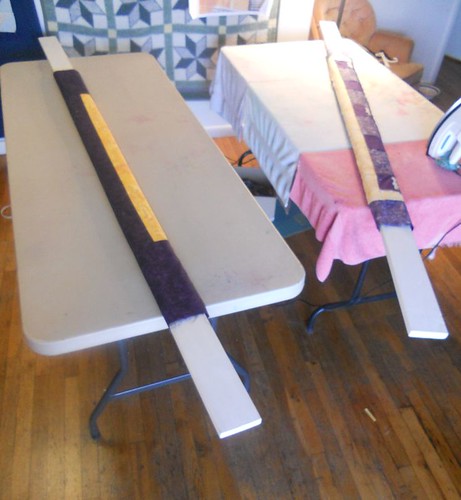
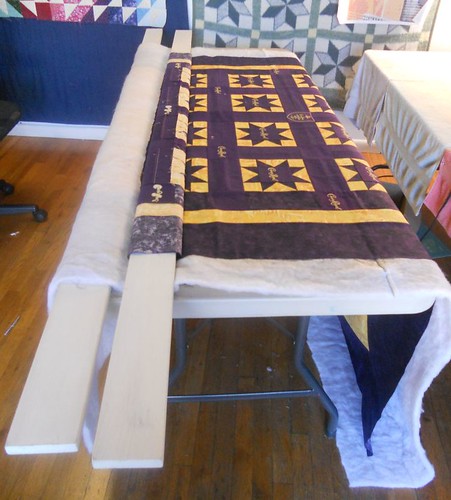
13. Now what you have to do is turn your rolled boards around. You'll start basting from the opposite side of the quilt.
Starting with your backing, lay the rolled board on the table.
**Leave an inch or two of the backing hanging over the table - Use your table as a guide so that it is straight**
14. Roll out your backing until you run out of table, and then lay your batting down on top. Try to get the pressed part of the batting aligned with your quilt backing so that it's the part that will be in the quilt.
15. Now you will start unrolling your quilt TOP.
**Align the quilt top's raw edge exactly with the edge of the table. Use your table as a guide so that it is straight **
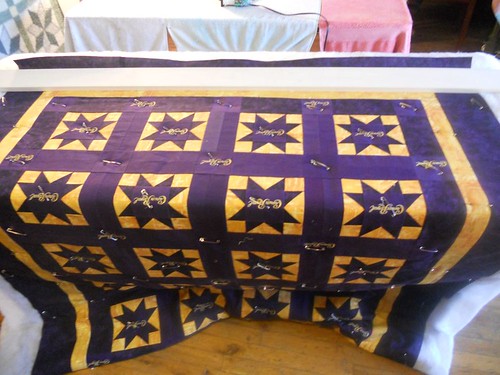
16. Start basting with your preferred method. (I just pin with large safety pins.)
17. When you're finished basting the part of the quilt sandwich that's on the table, pull the bottom board towards you.
18. Throw the batting over the quilt top revealing the backing board. Roll out the backing until you run out of table, smoothing out as you roll.
19. Throw your batting back over the backing and table, and smooth out. Then start rolling your quilt top out until you run out of table. Baste as desired.


20. When you reach the end of the quilt, I like to leave the board on there as long as possible to keep the quilt backing taut.

Same goes for the top. I like to keep the board on there to keep it taut.

21. Baste to the edge, then remove the boards and secure the ends.

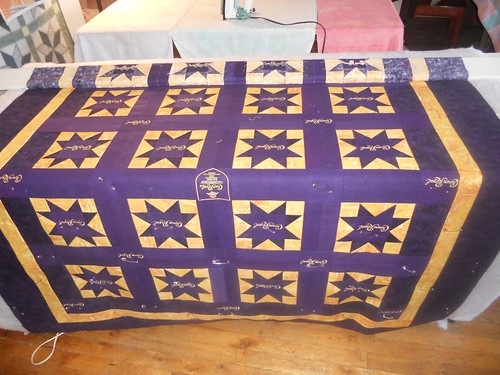
22. Flip your quilt over and check the backing. Is everything smooth? Pay special attention to the edges. Sometimes the edges/borders can get a little bunched up and luckily this is an easy quick fix. If you get bunching just remove the pins, smooth out, and repin!
23. Do you see this little section ? There are little ridges in the backing. It would probably quilt out, but just in case, I will go and spray these spots with water and iron until smooth.
24. Quilt as desired!

**Update - I am still using these same boards today, and it's 2014!! I have found the steam-pressing the sandwich to be a bit of an overkill. . .but, if you are a beginner, or if you are doing straight-line quilting, I think it is a necessary step!** Let me know if you have any questions!
Go HERE for photos of the completed quilt
I SELL this pattern as an INSTANT PDF DOWNLOAD in my etsy shop.
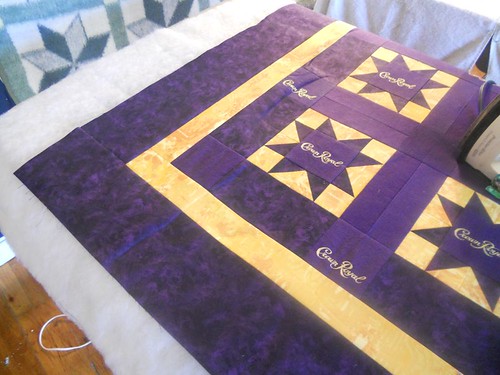
The pattern is called ROYAL STAR, and is an 8 page booklet with 7 different size options.
In the pattern I explain how to deconstruct a Crown Royal bag and create a quilt with many different options and gives you plenty of artistic freedom. However all the math is done for you! Just cut and sew ;c)
I SELL this pattern as an INSTANT PDF DOWNLOAD in my etsy shop.
The pattern is called ROYAL STAR, and is an 8 page booklet with 7 different size options.
In the pattern I explain how to deconstruct a Crown Royal bag and create a quilt with many different options and gives you plenty of artistic freedom. However all the math is done for you! Just cut and sew ;c)
Fabulous tutorial, Katie! You left no steps out and took so many pictures so that we could follow along. Good job!
ReplyDeleteThis was a great tutorial. I am beginning a CR quilt and wonder if you washed the bags before you started piecing? Did you have problems with the dye in the bag coloring the gold logo?
ReplyDeleteI have never washed the bags before making the quilts. I don't prewash ANY of my fabric though. . so if you are a prewasher. . you might want to do it!!
ReplyDeleteMy friend Susan is in the process of making a crown royal quilt. . and she chose to prewash her bags before cutting/sewing (They were also kinda dirty.) She said she noticed some dye in the water on the dye catchers. Her bags turned out fine, the washing didn't hurt them.
That being said, I wash all my FINISHED quilts to soften them up and remove all the starch. I didn't notice any bleeding or problems with any of my previous crown quilts. I might worry though, if I were using a plain white background. GOOD LUCK!
PS. . I have made A BUNCHHHHH of Crown Royal quilts!!!! I've never experienced any bleeding or running. And have made them ALL The same way. . with good quality quilt shop fabrics. And recommend these washing instructions for ALL quilts:
ReplyDeleteWash on delicate cycle in COLD WATER ONLY. (spin on high/fast, but agitate on low/slow.)
Dry with low heat or lay flat to dry.
Iron if necessary (with steam)
Your tutorial was pinned on Pinterest! Thanks for this - I will be using this method soon!
ReplyDeleteExcellent Job ... I had seen this before but not half as detailed ...THANKS4SHARING
ReplyDeleteThank you for this wonderful tutorial. I learned so much. One observation though: the boards you are using are not 2x4s. They are 1x4s. 2x4s would be so heavy as to be unmanageable. I have used 1x4s for years to make frames (using c-clamps) for tying quilt top comforters, but I never thought about using them for basting quilts to be machine (or hand) quilted. Thanks again.
ReplyDeleteLove SS! She's brilliant..Thank you for the tute!
ReplyDeleteI realize that this post was made a long time ago, but I have a question for you: it looks like you are pressing/steaming with the quilt sandwich directly on the plastic table. Has the heat not affected the table over the years?
ReplyDeleteI have a hard time keeping everything straight when rolling onto the boards. I line things with the edge of the table, but as I roll it never ends straight. Any tips?
ReplyDeleteLove this method!
ReplyDelete