Google Analytics

Showing posts with label heat-n-bond. Show all posts

Monday, January 5, 2015

Christmas Advent Quilt


I love advent calendars!  I've made several in many different varieties.
This year, I stumbled upon a photo from THIS BLOG and I fell in love.   I had an uncontrollable desire to recreate the idea into a quilt!

The artist used a wood medium, and as luck would have it, one version of the Bible Verse Luke:2.11 (The Christmas Story) has exactly 25 words. - perfect for an advent calendar!

First I created little mini quilts.  One one side I appliqued the numbers 1 through 25.  On the opposite side I embroidered a word from the Bible verse.   These are made like THESE COASTERS- and are not bound. After flipping, I quilted the little mini quilts, and made a buttonhole with my machine.

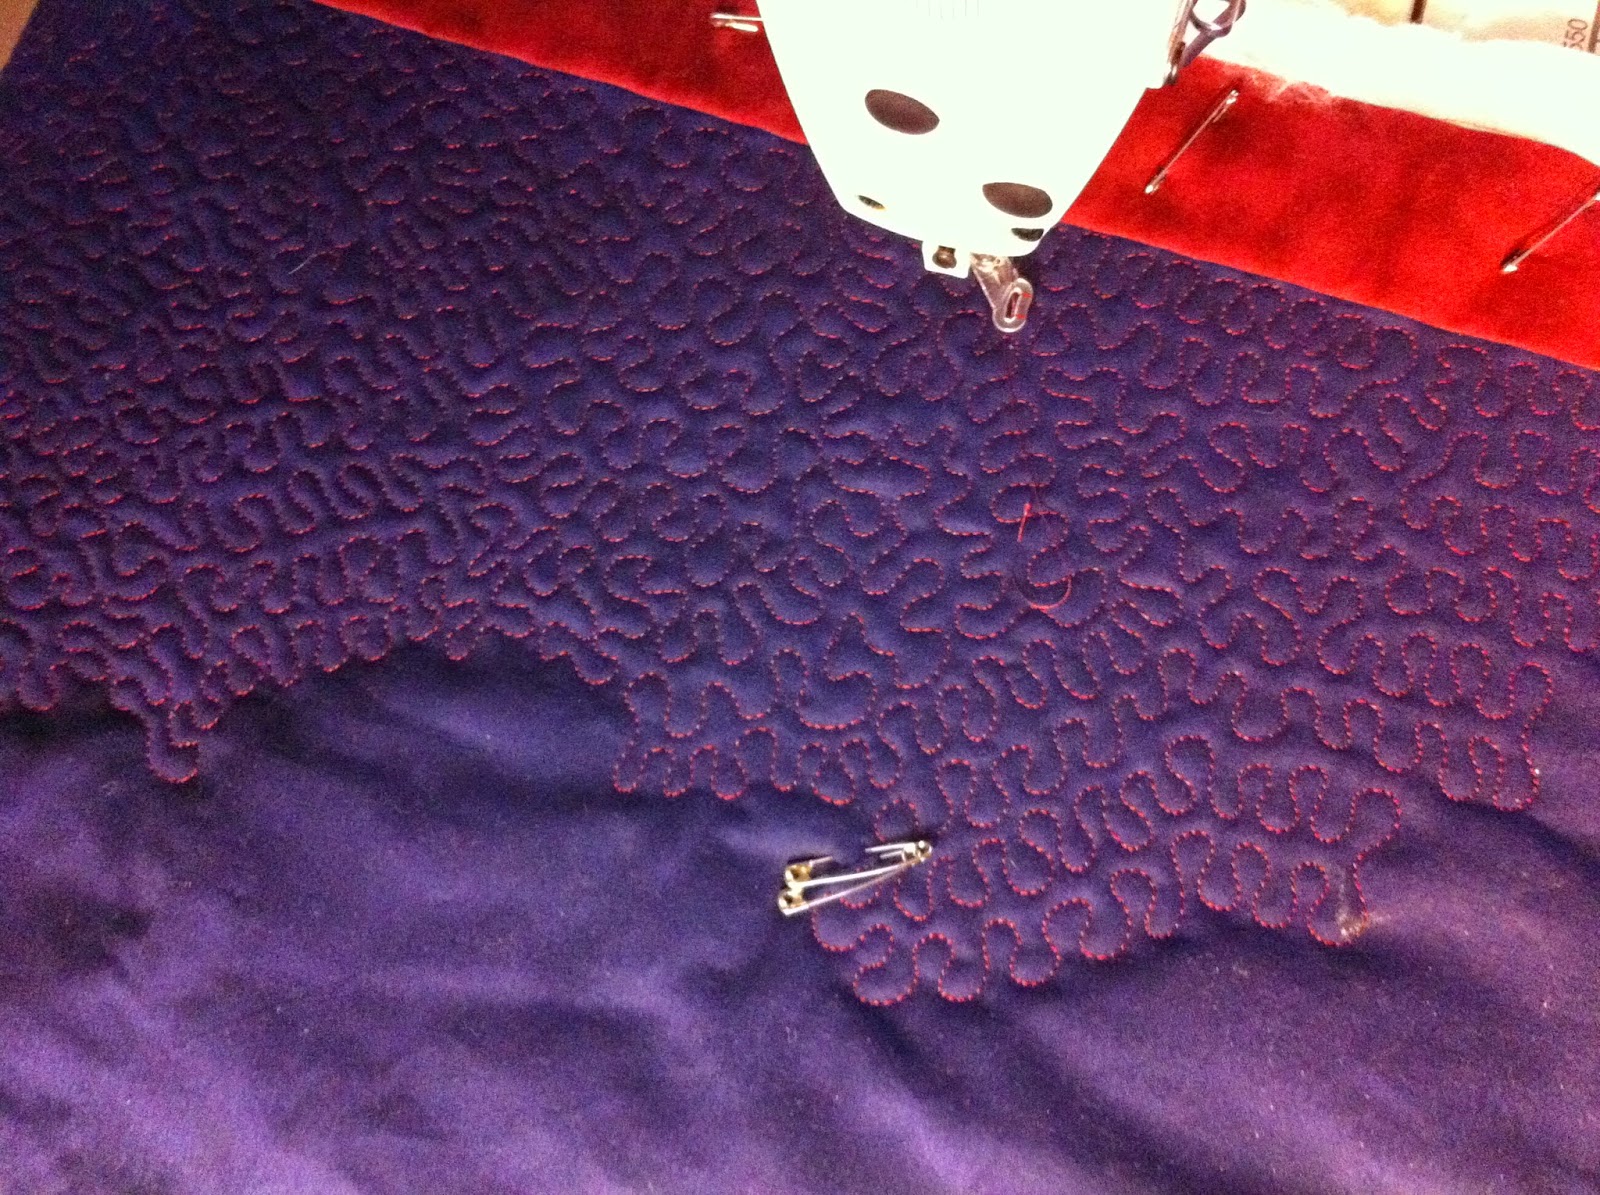
Setting the 25 mini quilts aside, I created the background for the advent calendar.  And quilted it thoroughly with a tight stipple.   For the very top of the advent quilt, I cut out a  silhouette nativity scene out of a gold fabric fused with heat N bond.  I positioned the appliques and ironed them down.  I continued doing a tight stipple over the whole quilt, saving the nativity scene for the last.


After the whole piece was quilted, I wanted to add a sleeve to the back of the quilt.   FYI I detest making hanging sleeves and would rather do just about anything  lol -  But I really thought it was important for this particular quilt.  
I tried to pin down exactly what it was I hated about making hanging sleeves, and I came to the conclusion that it's the hand sewing.  Not just hand sewing, but sewing through the thick layers and all of that bulk.   What if there was a way to do it by machine?  Surely someone has discovered a way already. . right?  So I went to google to search.  And guess what? Sure enough, there was a tutorial on making and attaching a hanging sleeve almost entirely by machine!  I was skeptical at first, but I gave it a go.  The method uses a blind hem stitch, but you can use a tight zigzag if you are careful.  The stitches don't go through to the front of the quilt.  It is just ctching the backing and a bit of the batting.  It worked perfectly!  My mind was blown and it seriously is a life changing discovery!  
If anyone is interested in this method - here is the LINK
So after the hanging sleeve was attached, I started working on the position of the mini quilts.  Once I found a placement I liked,  I made a mark with chalk through the buttonhole onto the quilt background.  I removed the mini quilts and then started to sew my buttons.  


After the buttons were sewn, I laid the mini quilts directly under the buttonhole.  I chose a navy-colored thin ribbon, poked it through the buttonhole and tied a bow over the button.   That way the mini quilts can be easily turned from front to back, but still secure.  


 The one side with the just the numbers, and the other side with all of the Bible verse Luke 2:11

"FOR ON THIS DAY IN THE CITY OF DAVID THERE HAS BEEN BORN A SAVIOR FOR YOU WHO IS CHRIST THE LORD."  LUKE 2:11


Friday, August 29, 2014

Lavender, Pale Yellow, and Grey


My friend Trenta, a lady and fellow mom who graduated with my sister, requested this quilt for a baby shower gift.  The baby's name - Emma.  
The piecing for this quilt is rather simple, but we most certainly "fancied" it up!  She had very specific colors in mind for this quilt.  And these colors must be very popular, because there were so many combinations of these colors together at the fabric shop, it was not difficult at all for me to blend them.  They even had a chevron with all the colors in it!  
Lavender, Pale yellow, Grey, and White for the pieced background.  For the appliqued name and binding, we used a teal.  I secured the "Emma" with a straight stitch using raw-edge fusible applique.  Then for the background I wanted a very feminine, flow-y motif.  I really love this floral paisley design and it worked well for this quilt I believe.  I did a few small pebbles around the applique which made it stand out a bit more.  
The icing on the cake is the backing, which is that chevron with the perfect blend of all the colors!
I've never had so many random people stop me at the fabric store to "ooh" and "ahh" over my pile of fabrics ;c)


A WHALE of a baby quilt!

See what I did there?  
Tee Hee.
My moms friend and co-worker Shelly is having a baby boy!  She decided a week before her baby shower that she liked the theme of green and navy . . and whales.  I love it too, and [by the way] ever since I completed this quilt, I now see whales on baby clothes everywhere I go!  ;c)
Shelly still has not decided on a name, but that's okay we will add that to the quilt later, no problem.  But thankfully, I was able to at least make a quilt within her range of colors just in time for her baby shower.

I made this quilt similar to the applique baby quilts I have made previously.  I made a Monkey, an Owl, 2 Owls, and one with a puppy.  It's easy because you can take several colors or prints from the nursery, and use those throughout the quilt.  

I drew the image on fusible stabilizer, and then once the appliques were fused to the background, I used a raw-edge machine buttonhole stitch to secure.  
 I did a version of McTing for the large open background area and feathers in the two pieces areas.
 I used rick rack in two different shades of blue to give more of a "water" effect.   Also I hand sewed buttons for the whales eyes, and I used small glass beads for the birds eyes.  (I told her that she could easily remove them with a seam ripper if she feels they are too much of a hazard.)


Friday, January 3, 2014

Joey's Baby Quilt

I had this very "busy" FQ bundle that my brother got me for Christmas one year from a quilt shop in California.  I've been wanting to find a quilt to use it in for a while now.  I decided to try to use it up in a baby quilt for my friend's new baby boy.   If I had to do it all over again, I definitely would have paired the FQs with some solid white, or grey, or even BLACK fabrics.  But, overall it's cute I think. .but VERYYYY "different." ;c)