Google Analytics

Showing posts with label stippling. Show all posts

Tuesday, July 7, 2015

Oliver's Heart Quilt.


This quilt was inspired by this mini quilt -  I'm not sure who the original artist was but a google search brought me to THIS WEBSITE.  

Melissa wanted these two sleepers to be the "focus" of the quilt.  But since the logos are right next to the zippers, we decided that the best thing to do would be to make each onesie into a "half" heart, and then put them together side-by-side to make up a whole heart.     I took out 3 rows of stitches to try to get more room for the heart shape.    

 It still didn't look quite right. . I think because it was the biggest heart and right in the middle.   So then we decided to make them into two separate hearts.  

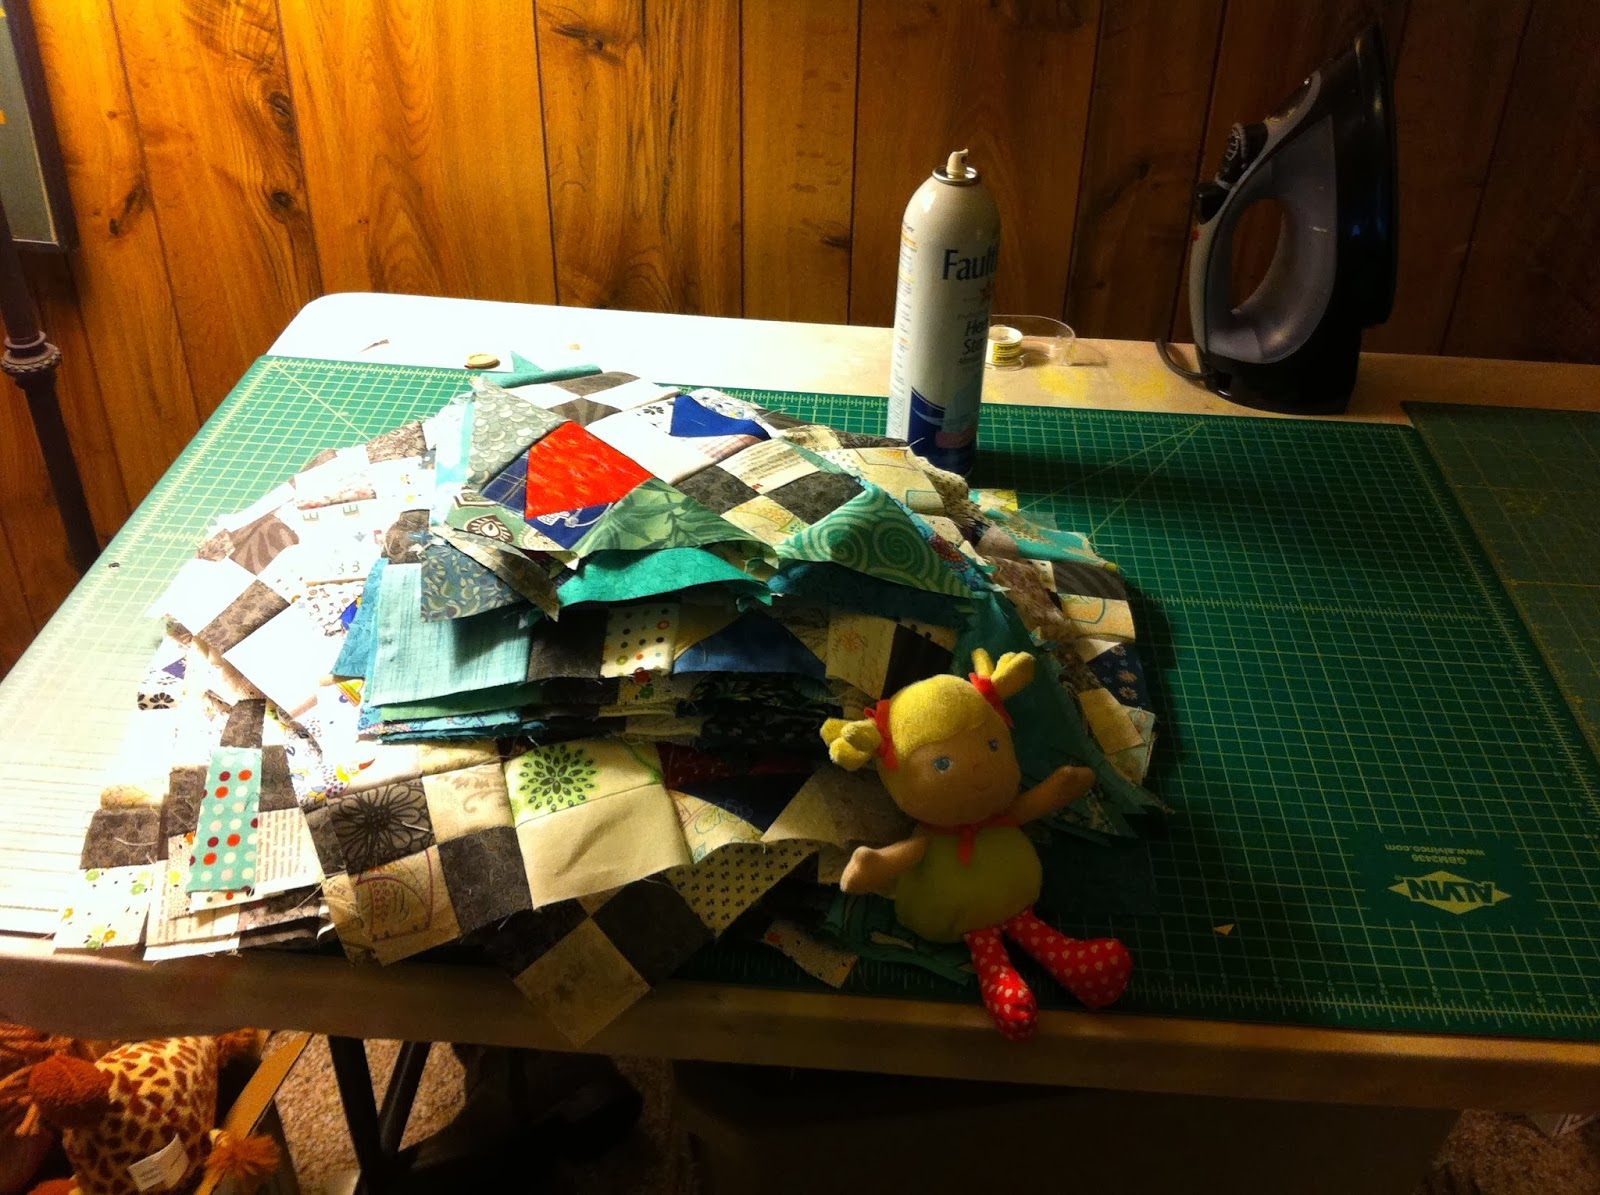
After some wiggling around,   we came up with THIS design -  I also added some more color, reduced the size of most of the hearts, and used the booties from the sleepers to add depth and more color.    -  much better!  

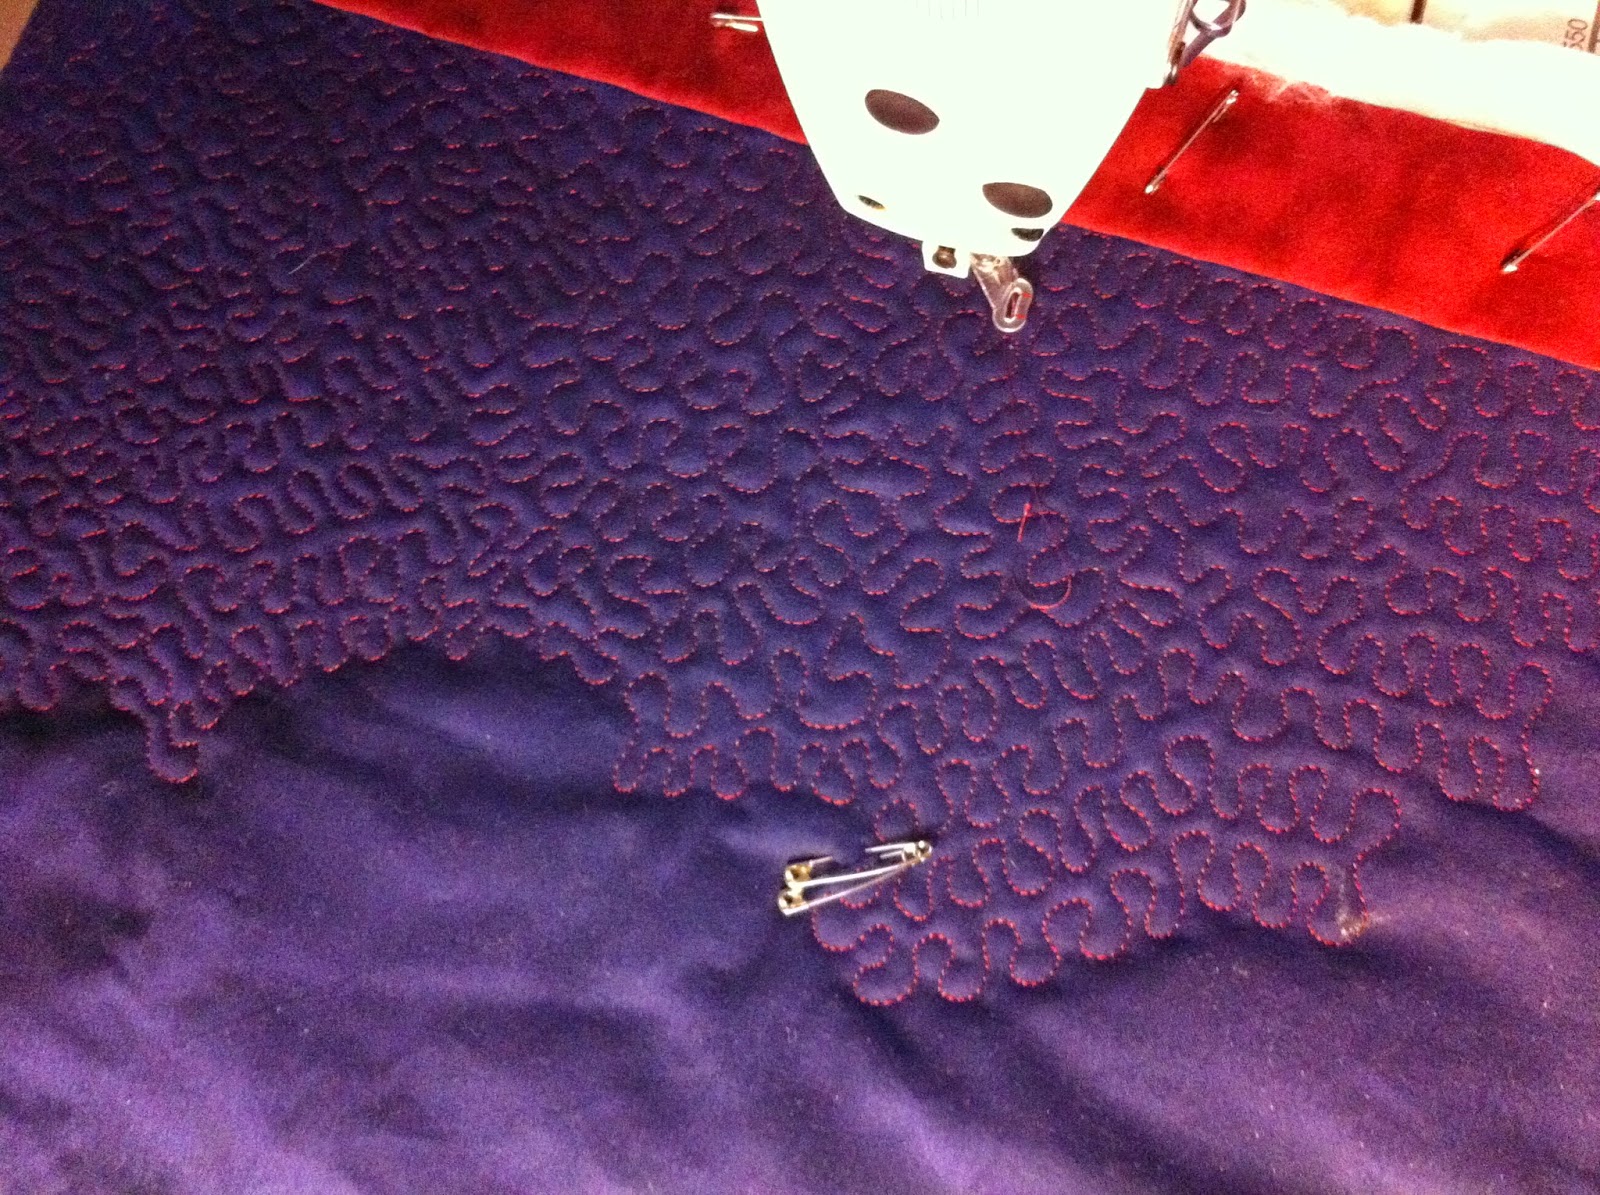
The top was complete, but I felt it really needed "something". . . so I decided to try to do a Mock Trapunto technique.    I used a thick polyester batting, and densely quilted in the background area and in and around all the hearts and applique shapes.  


I used stippling in the large open areas and pebbling inside the smaller areas inside the heart and around the text.    
Starting from the outside edges first and going around the edges.    I stippled first, and then once I got to the inside of the hearts, I started pebbling.    This pushes all the batting down, and into the open areas.    Then I outlined around each heart, and they magically POOF UP, making it look like you took a long time stuffing each heart or adding extra batting.  


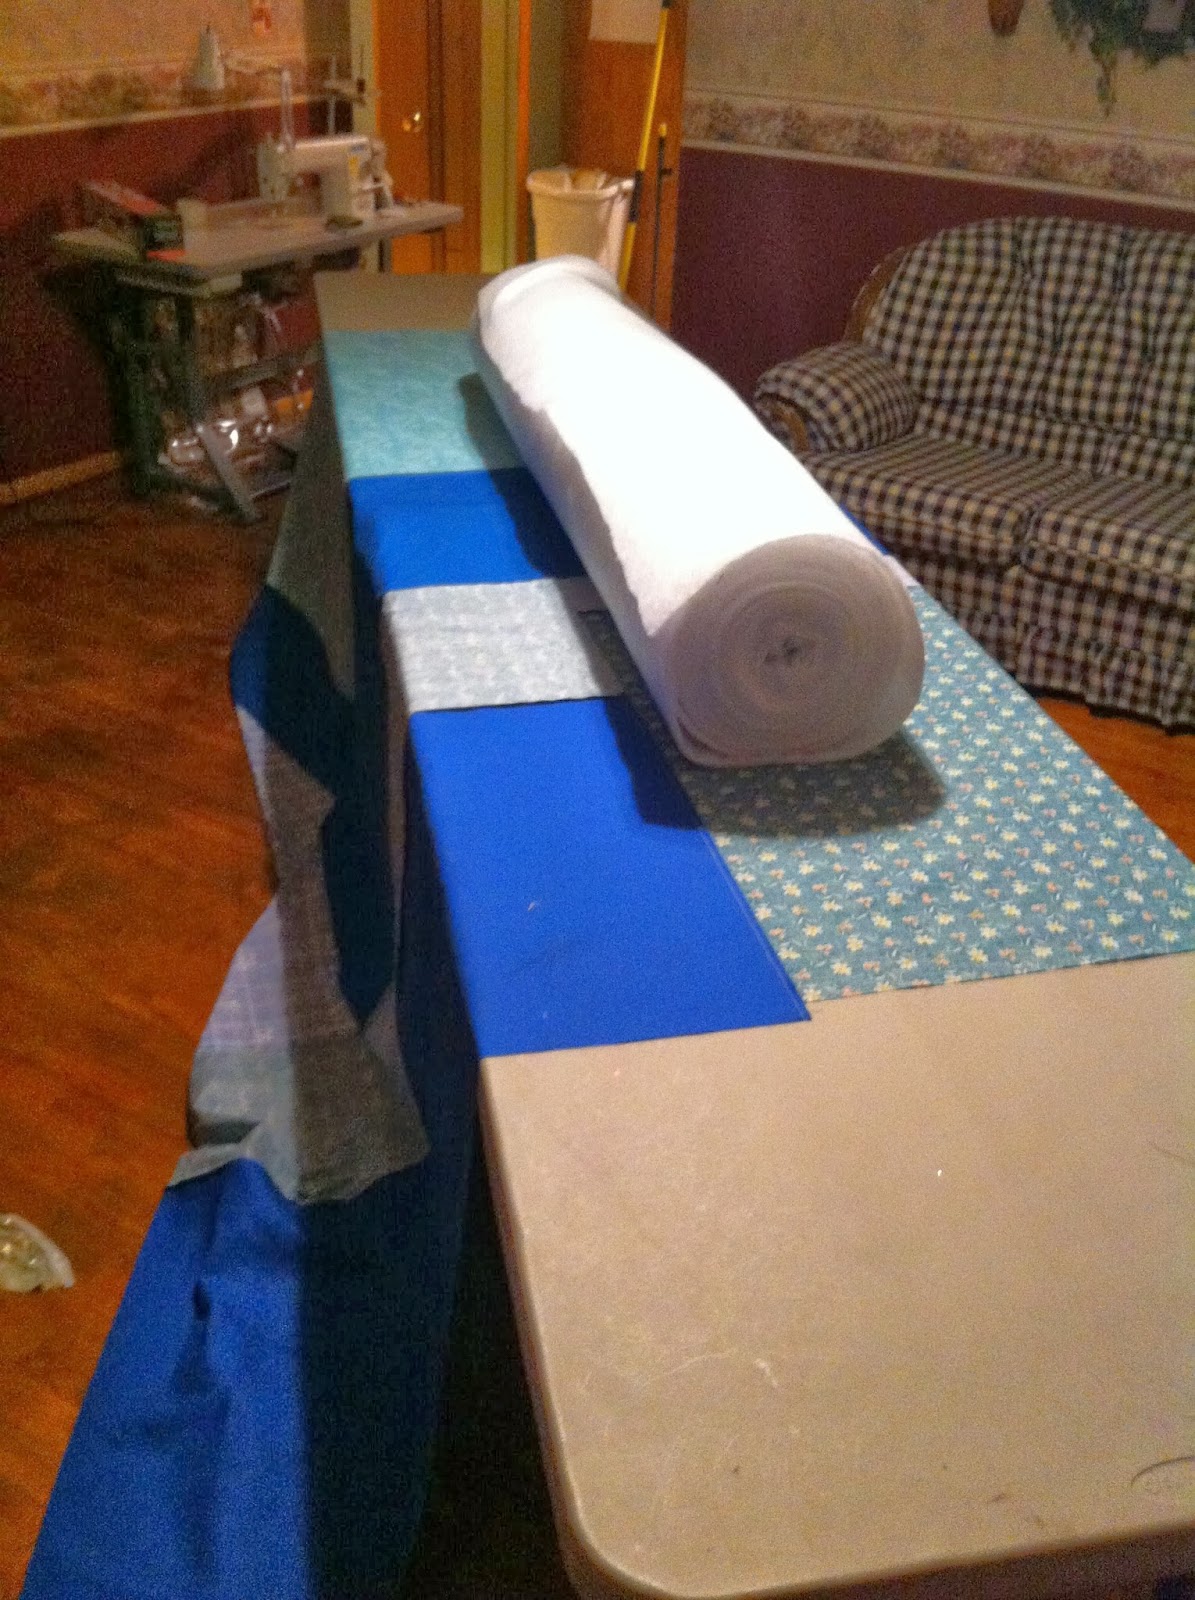
 I didn't have quite enough of the fabric and they were sold out, so I pieced the backing and made it into a double-sided quilt.   

 Here you can see how poofy the applique shapes are - and also the quilting on the back.


Monday, January 5, 2015

Christmas Advent Quilt


I love advent calendars!  I've made several in many different varieties.
This year, I stumbled upon a photo from THIS BLOG and I fell in love.   I had an uncontrollable desire to recreate the idea into a quilt!

The artist used a wood medium, and as luck would have it, one version of the Bible Verse Luke:2.11 (The Christmas Story) has exactly 25 words. - perfect for an advent calendar!

First I created little mini quilts.  One one side I appliqued the numbers 1 through 25.  On the opposite side I embroidered a word from the Bible verse.   These are made like THESE COASTERS- and are not bound. After flipping, I quilted the little mini quilts, and made a buttonhole with my machine.

Setting the 25 mini quilts aside, I created the background for the advent calendar.  And quilted it thoroughly with a tight stipple.   For the very top of the advent quilt, I cut out a  silhouette nativity scene out of a gold fabric fused with heat N bond.  I positioned the appliques and ironed them down.  I continued doing a tight stipple over the whole quilt, saving the nativity scene for the last.


After the whole piece was quilted, I wanted to add a sleeve to the back of the quilt.   FYI I detest making hanging sleeves and would rather do just about anything  lol -  But I really thought it was important for this particular quilt.  
I tried to pin down exactly what it was I hated about making hanging sleeves, and I came to the conclusion that it's the hand sewing.  Not just hand sewing, but sewing through the thick layers and all of that bulk.   What if there was a way to do it by machine?  Surely someone has discovered a way already. . right?  So I went to google to search.  And guess what? Sure enough, there was a tutorial on making and attaching a hanging sleeve almost entirely by machine!  I was skeptical at first, but I gave it a go.  The method uses a blind hem stitch, but you can use a tight zigzag if you are careful.  The stitches don't go through to the front of the quilt.  It is just ctching the backing and a bit of the batting.  It worked perfectly!  My mind was blown and it seriously is a life changing discovery!  
If anyone is interested in this method - here is the LINK
So after the hanging sleeve was attached, I started working on the position of the mini quilts.  Once I found a placement I liked,  I made a mark with chalk through the buttonhole onto the quilt background.  I removed the mini quilts and then started to sew my buttons.  


After the buttons were sewn, I laid the mini quilts directly under the buttonhole.  I chose a navy-colored thin ribbon, poked it through the buttonhole and tied a bow over the button.   That way the mini quilts can be easily turned from front to back, but still secure.  


 The one side with the just the numbers, and the other side with all of the Bible verse Luke 2:11

"FOR ON THIS DAY IN THE CITY OF DAVID THERE HAS BEEN BORN A SAVIOR FOR YOU WHO IS CHRIST THE LORD."  LUKE 2:11


Saturday, January 25, 2014

EZ Street Finished - "Scrappy Snow Day"


Yeah, I know, that was like, LAST year's mystery.  But again, I have a baby now so I'm a little behind! ;c)
I've named this quilt "Scrappy Snow Day"
I used ALL SCRAPS in this quilt!  I did not buy ONE SINGLE thing that was new. . I used all the stuff in my stash that had been collecting dust for years and years.  All of my UGLYYYY fabrics.   This is just to keep us warm.  I wasn't trying to make a "pretty" quilt.  I was just trying to use up some uglies.   Bonnie patterns are always a LOT of work, but so worth it!  I'm hoping this will replace my OLD bonnie quilt "Carolina Christmas" that has been used in rotation on my bed that I LOVE LOVE LOVE LOVE LOVE!  I need to retire it  because it is falling apart.   Of course when I made THAT quilt I did NOT use an accurate seam allowance nor did I know how to free-motion quilt (which makes the seams last longer.)  Also, I didn't know the importance of using bias binding.  So. .  the edges are fraying and worn out.  I'ts been washed weekly though, for how many years?  5?  6?

 Here are all my pieces ready to sew!  I had already finished the 4-patch step!
 Here is my finished blocks and triangle pieces.
 Finished top - OH POOP!  I messed up. . oh well, I'm keeping thisquilt so I'm leaving it ;c)
 Here I am getting ready to baste - I had to push two big tables together - this was a bigggg quilt!
 basting, basting....
 anddddd DONE!
 It's a snowy day here in Milton, WV - I used my fence as a quilt model ;c) It's very windy too!

 Scrappy Backing!
 Brrrrr. . windy!
 The footprint of my husband's shoes haha
 My foot print in the deep snow drift!

Wednesday, March 27, 2013

Franki's Baby Quilt

I made this quilt for my friend Franki, who is having a baby next month:  "Mia." 
She wanted Pink and Green, so I dug through my pinnk and green scraps.  The piecing for the front and back I kept relatively simple, but I went crazy with the quilting.   my favorite part ;c)

Here is the front and back before sandwiching. 

 I divided the quilt up in diamonds and wanted a 1/2' puffy line between each quilting motif.  In the above photo I had just finished the trapunto for Mia's name, the pebbling in the 1st section, and half the feathers in the 2nd section.
Here I had just finished all the quilting.  

Before trimming and binding.  
Closeup of the quilting. 

 andddd. . front and back finished!

All of the quilting was done with NEW Aurifil polyester longarm thread.  The pastel variegated thread looked perfect against the pink and green fabrics.   . . used in the top AND bobbin.

Sunday, November 18, 2012

New Crown Royal Quilt


  Sorry I haven't been updating my blog very much, but if you want to get the latest photos, and updates on my current projects - be sure to "LIKE" my facebook page!!

So here they are:  My latest Crown Royal Quilts are complete! 
This is the "block" - and because these blocks are so BIG, these quilts are not as versatile as the old crown royal quilt pattern.  https://www.craftsy.com/quilting/patterns/royal-star-/194359 These are only available in Twin-size or bigger.  
Here are the "special" crown royal quilt bags /logos that were used in this quilt.  I used these special colors and textures for the cornerstones, so that the main blocks would stay consistent. 

 Here is the center quilt pre-borders
 For the border star blocks, the lights and darks were reversed.   I've made SOOO many of them the opposite way, I screwed up a gazillion times and had to do ALOT of seam-ripping/unpicking ;c)
For the borders stars I used the gold/leather crown royal quilt.  and purple background.
 Here are the two finished tops!
 I used the leftover bag material from the BACK and SIDES of the crown royal bags for the sashing.   For all the other purple areas I used a mottled purple quilting fabric.

 Here are the two quilt tops on the wall, without flash ;c)  My camera seems to have trouble capturing the color purple.
 Here is me quilting the quilt with my big-guy machine ;c)  Yes, I think the name of my sewing machine is "big guy" . .  I never claimed to be creative.  LOL
 For the backing I used a purple minky fleece.    When I ordered it from fabric.com, I thought it was just as dark as the purple quilting fabric and the crown royal bags.   But when it showed up in the mail it was a bit lighter.   Like a lavender or something.
 Here are the 3 quilts finished!   I used gold binding on one, and purple binding on the other.
 Here's a shot of the backing. . it's the same on both quilts.