Google Analytics

Showing posts with label Bonnie Hunter. Show all posts

Saturday, January 25, 2014

EZ Street Finished - "Scrappy Snow Day"


Yeah, I know, that was like, LAST year's mystery.  But again, I have a baby now so I'm a little behind! ;c)
I've named this quilt "Scrappy Snow Day"
I used ALL SCRAPS in this quilt!  I did not buy ONE SINGLE thing that was new. . I used all the stuff in my stash that had been collecting dust for years and years.  All of my UGLYYYY fabrics.   This is just to keep us warm.  I wasn't trying to make a "pretty" quilt.  I was just trying to use up some uglies.   Bonnie patterns are always a LOT of work, but so worth it!  I'm hoping this will replace my OLD bonnie quilt "Carolina Christmas" that has been used in rotation on my bed that I LOVE LOVE LOVE LOVE LOVE!  I need to retire it  because it is falling apart.   Of course when I made THAT quilt I did NOT use an accurate seam allowance nor did I know how to free-motion quilt (which makes the seams last longer.)  Also, I didn't know the importance of using bias binding.  So. .  the edges are fraying and worn out.  I'ts been washed weekly though, for how many years?  5?  6?

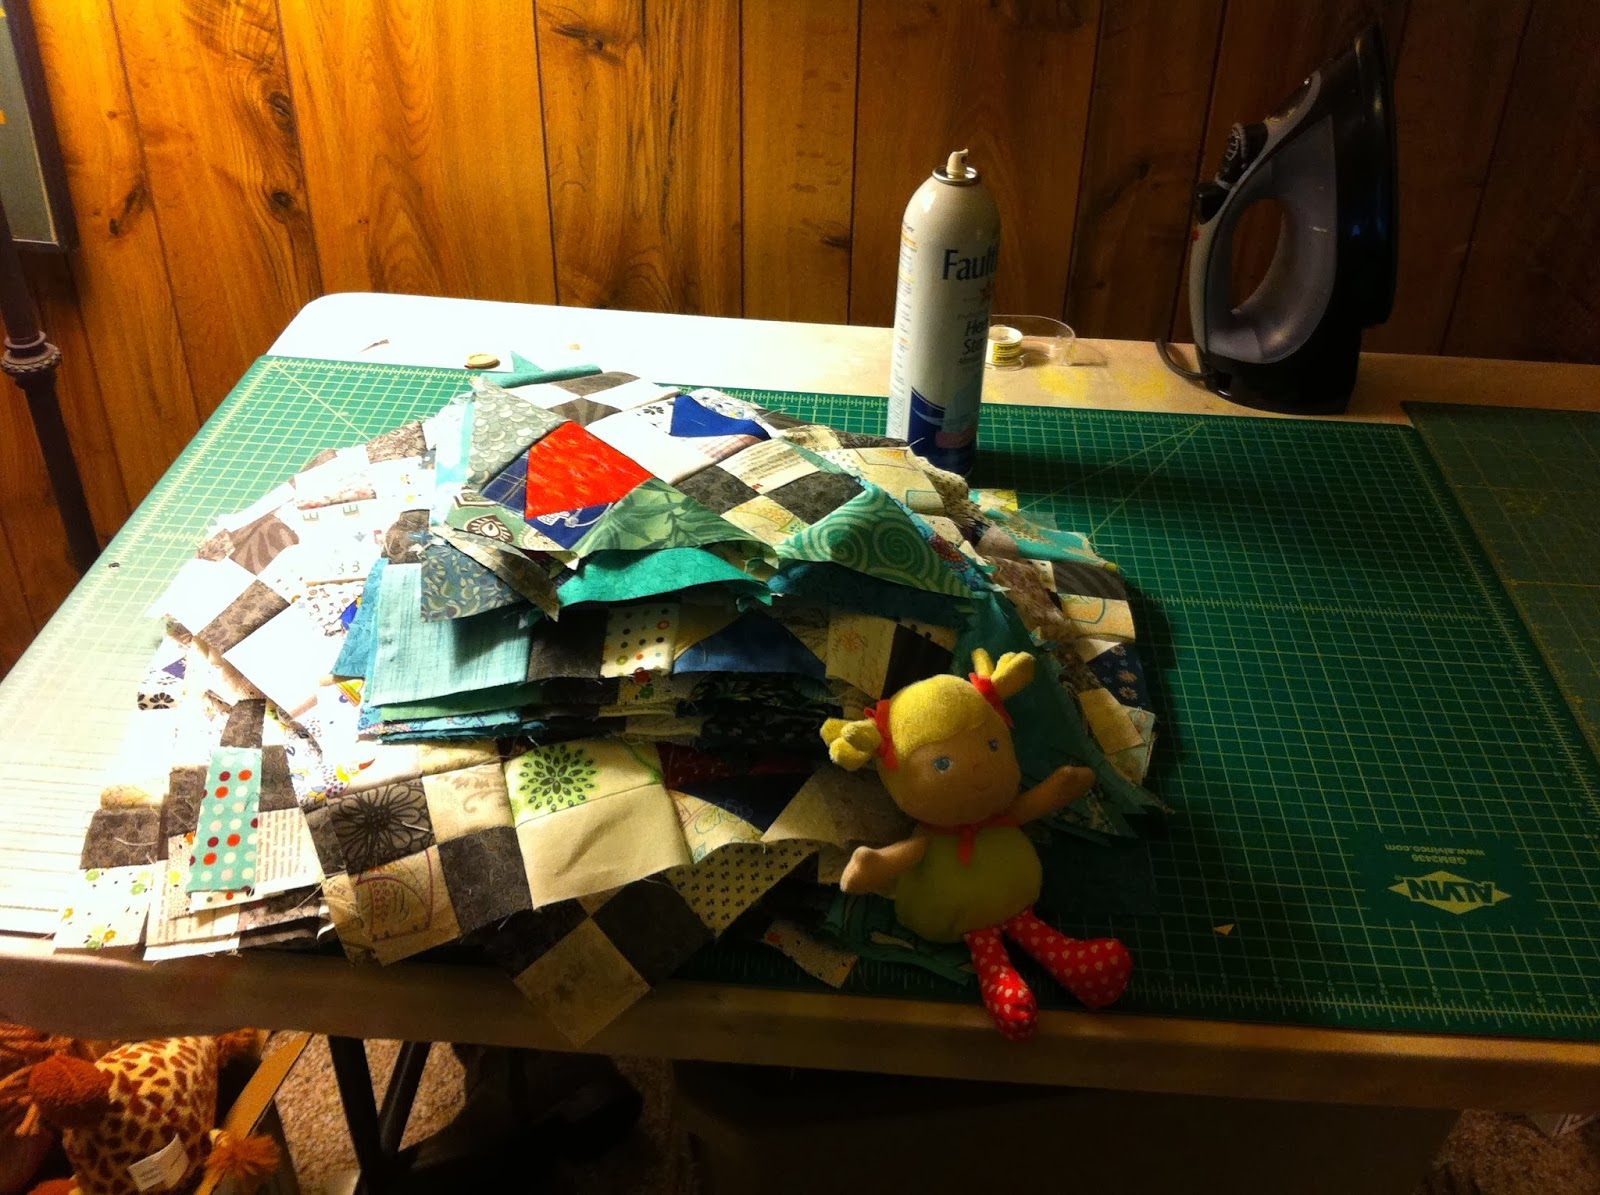
 Here are all my pieces ready to sew!  I had already finished the 4-patch step!
 Here is my finished blocks and triangle pieces.
 Finished top - OH POOP!  I messed up. . oh well, I'm keeping thisquilt so I'm leaving it ;c)
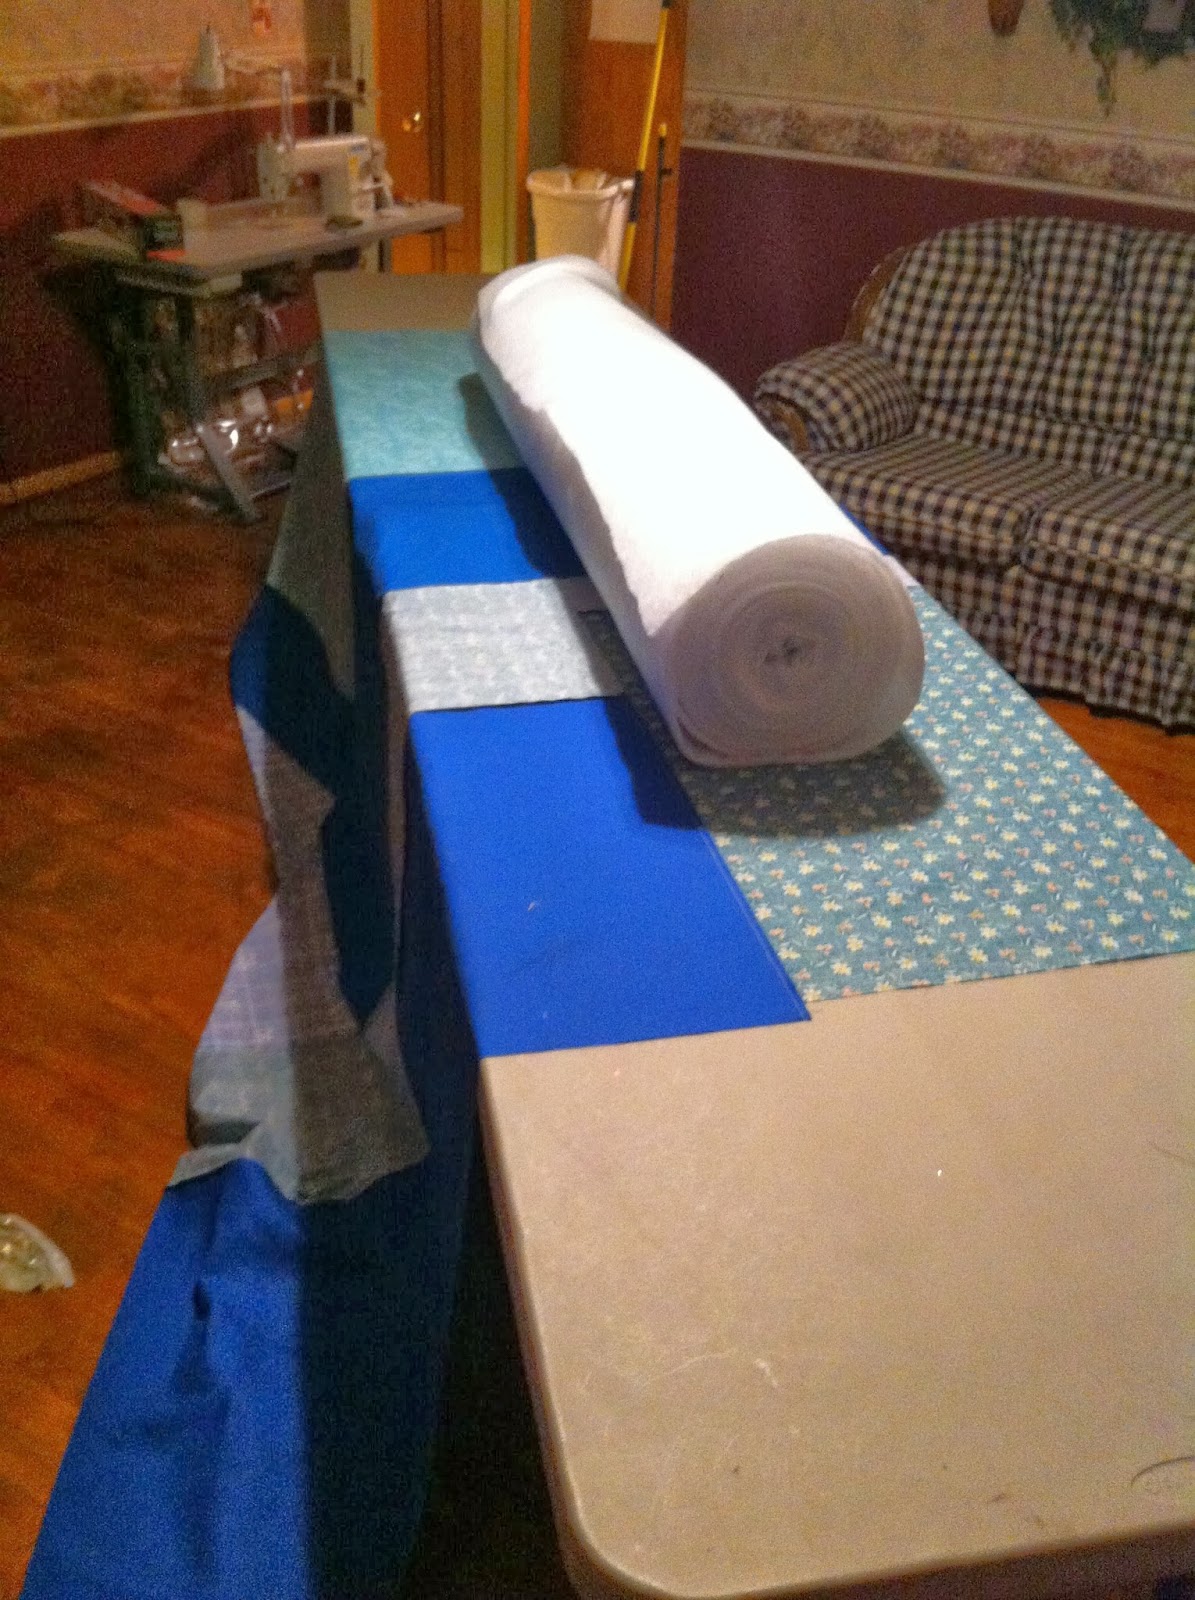
 Here I am getting ready to baste - I had to push two big tables together - this was a bigggg quilt!
 basting, basting....
 anddddd DONE!
 It's a snowy day here in Milton, WV - I used my fence as a quilt model ;c) It's very windy too!

 Scrappy Backing!
 Brrrrr. . windy!
 The footprint of my husband's shoes haha
 My foot print in the deep snow drift!

Monday, October 8, 2012

Orca Bay

So lately I've been working on LOTS of Crown Royal Quilts.   Typically I can calculate to the exact centimeter how much fabric will be needed for a quilt, and I buy accordingly.   But... On this last series of Crown quilts, I shorted myself just a hair on the gold fabric.  When I went back to the store for a refill, they were OUT AND...  it has been discontinued.  This is kind of a bummer because the particular fabric is a "manly" gold.   I have looked high and low for a replacement for this "manly gold" fabric, with no luck.   Unfortunately, most yellows and golds are very "girly."  They are usually filled with flowers or other pretty, girly prints.   Thankfully, one little shop "Material Girlz" out of Florida had 6 yards left of my "manly gold."  That was enough to completely my current 3 Crown quilts plus 3 or 4 more additional crown quilts, if needed.  

But, since I had to wait on my gold fabric to come in the mail, I decided to work on my Orca Bay project a little.  I didn't think I would get it done in a week, but I worked really hard. . and I DID!  I'm going to be meeting Bonnie the first week of November in Hawk's Nest, so I wanted to be sure to finish it before then, and also before her next mystery quilt comes out.   I still am thinking about borders, but I still got quite a bit done in less than 1 week!

I didn't get a picture of my HSTs and QSTs because I have been working on those as leader-enders since last year!

The first thing I did was my strings.  Red strings were first.   Aren't strings SO addictive?!?!
 Next I worked on my blue strings. . and even though there are a few more blues than reds, I got these finished much faster!   Also, I would like to add that I used a muslin foundation, for lack of time to pull out the paper. . .but. . I don't like how thick my seams are. . and I know it's going to be THAT much more difficult when I go to machine quilt. ;c)
 It was really difficult to cut all my beautiful strings in half! But I did it. .  maybe through a shed tear or two. LOL
 Here are all of my Ohio Star blocks finished!  I used dark browns instead of blacks.
Triangles for my flying geese units:

Also I wanted to show you what I do for each and very quilt I make, that has a block format -   - I started labeling my sewn blocks (rows) with numbers, and arrows a long time ago.  I used to throw the away, but I soon realized that since I use them so often, I could REuse them for each quilt.   They are quickly scribbled on paper, the number and then the direction in which to press my seams.   All odd numbers go one direction, and even numbers go in the OTHER direction.  I attach them in the LEFT/CENTER of the block (away from seams) and pin with a small metal pin.  The tiny metal pins don't get in the way when yo'ure pressing your seams.  BUT, since it's paper, they do have quite a few holes in them at this point, and it's probably time to throw them away and start over.  LOL. .  Maybe I could use fabric this time around, so I won't EVER have to throw them away ;c) 
If you're sewing from a pattern, then often times they will tell you exactly which direction to press your seams.  I sew mostly my own creations now-a-days, so these little numbered/arrowed squares are necessary so I'll have nice butted seams.  Not only that, but when I'm pinning my blocks on the wall, I'm not only looking for block placement, but also color.  In scrap quilts, you don't want a big dark area, or a bunch of similar fabric close together.   If your rows are labeled, you won't have to worry about getting mixed up.  
  Here are all my rows stitched together and hanging on the wall
 I hope to get some borders on this quilt, and have it quilted very soon!


Monday, August 27, 2012

Brady's Baby Clothing Quilt & Sammy's Baby Quilt

I can make your own custom baby clothes quilt-
**See my facebook page for ordering and pricing information**

Two finished for the last few weeks.  I wanted to share them both with you guys here.
First, I finally got the opportunity to make a quilt out of baby clothes!  There was a mixture of knits, wovens, and fleece.   AND, since the clothes were so small, it was especially difficult to capture the WHOLE shirt logo without cutting into the arm seams.   BUT, we did it, and I think it turned out awesome!

 That's MOM (Beth) on the left, with her son Brady. . and that's me on the right.  We're in Jacqueline's back yard.. .she is Brady's grandmother (Beth's Mom.)  Her back yard is perfect for photos!!
Here's a photo of the back of the quilt, I used leftover woven fabric from Brady's little dress shirts, on the back.  Strip pieced them, and then added them in between two layers of Xtra wide quilt fabric!
And I just wanted to share with you my graph for this quilt.  As I've said before, every SINGLE quilt, for me, starts with a graph.  Graphing out my quilts is especially important for T-shirt quilts. I measure each block, then write in a brief (and I mean REALLLLY brief) description of each shirt inside the block.   Since we were doing BABY shirts, these blocks were especially SMALL. . making it especially CHALLENGING!   I thought this graph was really funny, and I'm glad noone else has to decipher it but me! LOL


My next quilt was a quilt for our church choir director Jack.  He recently had a baby boy and named him Sammy.   He told me to make whatever quilt I wanted, but gave me these specs:   Colors- blue and brown, Theme: Traditional.   When he told me this, I immediately thought:  SCRAPPY!!!   So, I went to the trusted QUILTVILLE site to look for a fun pattern to use for scraps.   I have always been drawn to her PLAYING WITH JACKS pattern, and so it was.

 I pulled out my 2.5" strips of Browns, Neutrals, and Blues.
 Here are all of my "jacks on six" or "double x" blocks finished and pressed!  They don't look like much now do they?  haha
 Here is the completed center top
 Top complete with borders!
 I REALLLLLY had fun quilting this quilt!!  I just love quilting patchwork !   And surprisingly, I don't get to do it very often!
 I stippled in all the neutral areas so that the "Xs" would POP!  Then I went in and did a one-line outline quilt all around the rest of the patches.
 I fused Sammy's initials onto the back of the quilt.   I did this after I made the sandwich, and just quilted over them!
 I tried something different with the feathers this time around - I quilted my feathers, and then did an echo stitch back down to the starting point.  I really REALLY like the way it looks, and plus, it's easier!  YOu don't have to either make a stop, and then reposition, OR follow your feather vein all the way back down!
 I really like this photo of the quilt - it shows off the quilting AND the back.
 Thank you hubby for helping me photograph (it's like pulling teeth God-love him!)
 We got a little bit of sunshine on the quilt, showing off the feathers!


Friday, April 6, 2012

It's a QUILT YARDSALE!! - With Quiltville

I CAN ONLY SHIP TO US RESIDENTS! SORRY!
PLEASE COMMENT IF YOU WOULD LIKE TO PURCHASE ONE OF THESE ITEMS, LEAVE YOUR EMAIL ADDRESS AND i WILL SEND YOU A PAYPAL INVOICE. PLEASE PAY WITHIN 24 HOURS. THANK YOU.

Also, if I'm slow to respond just bear with me, I'll be at work today and checking periodically with my phone.
I have a few duplicate items that I'd like to sell.
First of all, I have 4 rotary cutters. . . yes FOUR. I've tried two of them, but went back to my original rotary cutter. So the first two have just been used once. Also there is NO blade in them because I just took the blade out and used it ;c)

The first one is fiskers 45mm Rotary Cutter.
$5 + $5 shipping = $10 (sold)
JUST THE CUTTER NO BLADE =C(
used only once.


The next one is an Omnigrid rotary cutter:
This one comes with a little pink container that holds the cutter.
$5 + $5 shipping = $10 (sold)
NO BLADE SORRY =c(
used only once.


The next one is NEW IN BOX never used. Purchased from Hobby Lobby. (Originally $15)
This comes with ONE blade.
$8 + $5 shipping = $13 (sold)


I've collected all of these 2.5" squares of multi-colored and floral prints.
I will sell these for $10 + $5 shipping. (sold)
(unwashed) - these are MOSTLY quilt-shop quality. . but some of them might be Joanns.


I'm selling this JUNE TAILOR cutting mat. 23" x 23" Has different applique shapes and stuff on it. I've never used it.
http://store.junetailor.com/store/p-69-23-x-23-grid-quilting-mate-with-templates-mat.aspx
This is NOT a self-healing mat. Original price: $35
$10 + $10 shipping. (I'm afraid this will be a bit more expensive to ship since it can't be bent)


This last one is a paper trimmer. It was a gift to me. (Never used) Comes with ONE 45mm blade.
24" x 6.5" size.
$7 + $7 shipping = $14


IF YOU WOULD LIKE TO TRADE - please contact me at Krati@aol.com
I collect quilt books and of course, fabric ;c)
First come first serve ;c)
Thank you for looking!
Also, if you're local feel free to message me and we'll shave off the shipping cost.

Now head over to QUILTVILLE and check out everyone else's items. Bonnie has a TON of nice stuff!!!