Google Analytics

Showing posts with label scrappy. Show all posts

Tuesday, February 24, 2015

Red and White Scrap Quilt

Just finished this Red and White Flying Geese and String block quilt!
The red fabrics are all swaps from QuiltvilleSwap.  In the quiltville swap yahoo group we swap strips and sometimes, pieced blocks.  For this particular swap, it was around the time Bonnie was giving instructions for her "Orca Bay" mystery quilt.  So we decided to swap a set amount of string blocks, and also 4" strips!   I have SO MAnY leftover even after making this whole quilt!!!
I just love it.  I'm going to hopefully be able to hang this at my Mom's house, because she has red and black accents in her house.  And also I stole all of my quilts back when i moved into my own house ;c)


This is what I started with.   I had  the finished red scrappy string blocks that were 5.5" unfinished.   And I used the Fons and Porter Flying Geese ruler to cut triangles from the remaining red strips and white fabric to use as the sashing.  
I only had 2" and 1.5" red strips remaining, and I didn't want to cut into my red yardage, so I decided to cut the 1.5" strips into squares and make 4-patches for the cornerstones.   I used the 4 patches and white in alternating cornerstones.  
After I finished the quilt top, I felt like it neededddddd. . . SOMETHING. . .
So  went round and round with it and decided to add a wide red border and do scalloped edges.   I really wanted to soften up the sharp edges and I think the curvs does the trick perfectly!
I stitched together the 2" strips in 5.5" sections, and as luck would have it. . . I had exactly FOUR string blocks remaining. . so I used those 4 blocks in the 4 corners of my borders!   (love when things work out so perfectly like that!) 

I couldn't decide whether to use black or white binding. . . so I went to facebook for suggestions ;c)
Here we are before binding and after.  
For the back I used the remaining 5.5" strips of 2" sections sewn together, and put them in between two 4" white bands.  
The red that I used for this quilt's backing, is what was leftover from a T-shirt quilt.  So I didn't have quite enough for the whole back of the quilt. But that's okay because this forced me to make a cute pieced backing!  

I just used a plate from the kitchen to do the scallops, and I attached the binding totally by machine.  

Love the way this turned out and love the photos in the snow ;c)


Sunday, November 16, 2014

Amelia's 1st birthday Quilt with Minkee Backing and Binding.


I wanted to give sweet baby Amelia a "Katie Quilt" for her birthday.  I used everything from my stash.  I started with this large piece of minkee fleece that I had leftover from another project.  It's super soft and BIG so I didnt' have to piece fabric together for the backing.   I have used Minkee for  backing before, but I always used batting ALSO, but this time I left out the batting.  For a large, bed-size quilt I think batting is fine, but I wanted something that she could lug around herself, so it needed to be LIGHT too.   


Double Sided Minkee is thick enough that it doesn't require batting.  Also, it gives a very nice effect when free-motion quilted.  However there is a slight downside when you omit the batting.  When there is no batting, there is nothing for the fleece to stick to.  The batting acts as a stabilizer so that your fleece doesn't shift around.  To remedy that problem I just used lots of safety pins in the basting process.  


For the quilt TOP I pieced together feminine prints of pink and grey.  Honestly, I'm not real sure what I was going for here - just scrappy I guess!!  Who knows, it was late when I came up with this design ;c)  I think a quilt looks best when you incorporate elements from the back on the front, and vice versa.  So for the front, I appliqued circles of minkee and also used the minkee as the binding.

** I have a tutorial on how to do self-binding with fleece HERE**

 And for the backing I took one of the pink floral prints and used it to applique her name.
In this last picture you can get a good look at the quilting design I used.   I always want to try these fun large-scale quilting motifs, but am always too scared.   I love the look of all-over free-hand feathers, but every time I attempt them I regret it.   I think maybe it's because I think every tiny bit of space needs to be quilted - and everything needs to be touching.   
So for my last couple projects I have been trying to use more negative space.   I think just as rainbow colors only look good with a good amount of WHITE.   . . . "fancy" quilting only look good when there is some negative space?  Maybe?   I'm working on it anyway! 


Saturday, January 25, 2014

EZ Street Finished - "Scrappy Snow Day"


Yeah, I know, that was like, LAST year's mystery.  But again, I have a baby now so I'm a little behind! ;c)
I've named this quilt "Scrappy Snow Day"
I used ALL SCRAPS in this quilt!  I did not buy ONE SINGLE thing that was new. . I used all the stuff in my stash that had been collecting dust for years and years.  All of my UGLYYYY fabrics.   This is just to keep us warm.  I wasn't trying to make a "pretty" quilt.  I was just trying to use up some uglies.   Bonnie patterns are always a LOT of work, but so worth it!  I'm hoping this will replace my OLD bonnie quilt "Carolina Christmas" that has been used in rotation on my bed that I LOVE LOVE LOVE LOVE LOVE!  I need to retire it  because it is falling apart.   Of course when I made THAT quilt I did NOT use an accurate seam allowance nor did I know how to free-motion quilt (which makes the seams last longer.)  Also, I didn't know the importance of using bias binding.  So. .  the edges are fraying and worn out.  I'ts been washed weekly though, for how many years?  5?  6?

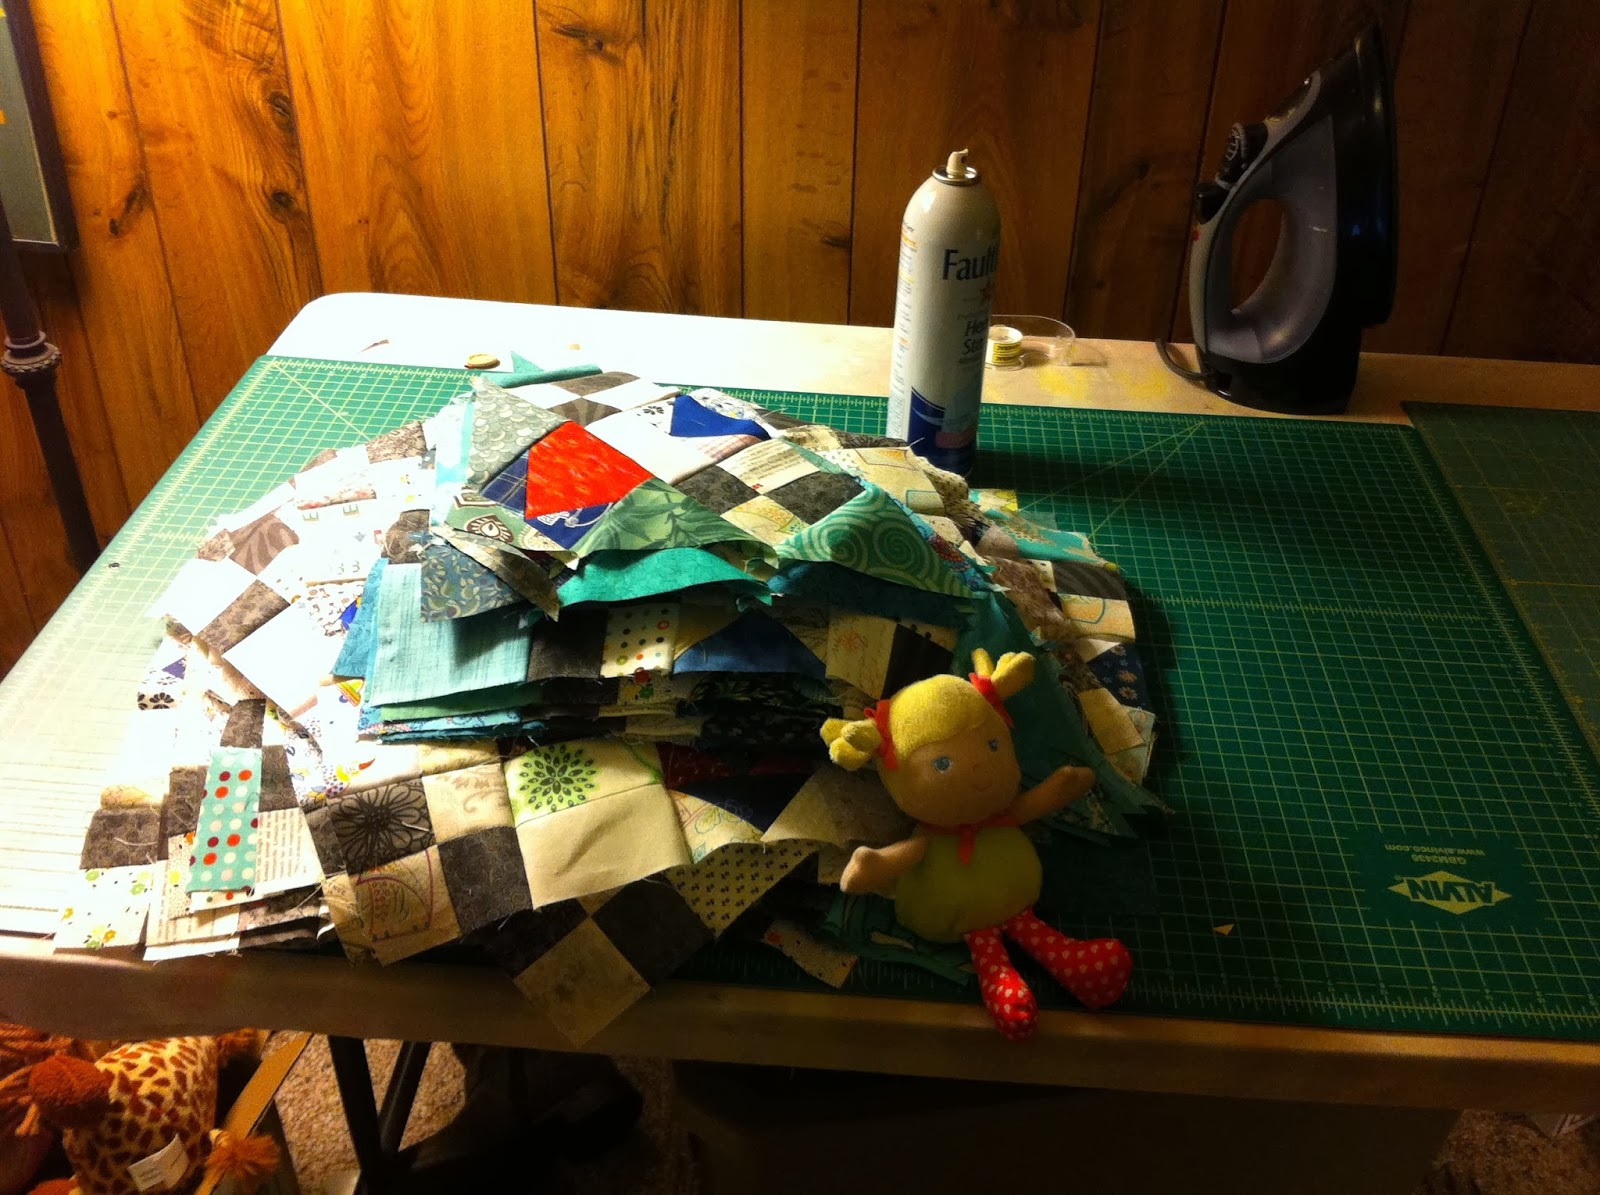
 Here are all my pieces ready to sew!  I had already finished the 4-patch step!
 Here is my finished blocks and triangle pieces.
 Finished top - OH POOP!  I messed up. . oh well, I'm keeping thisquilt so I'm leaving it ;c)
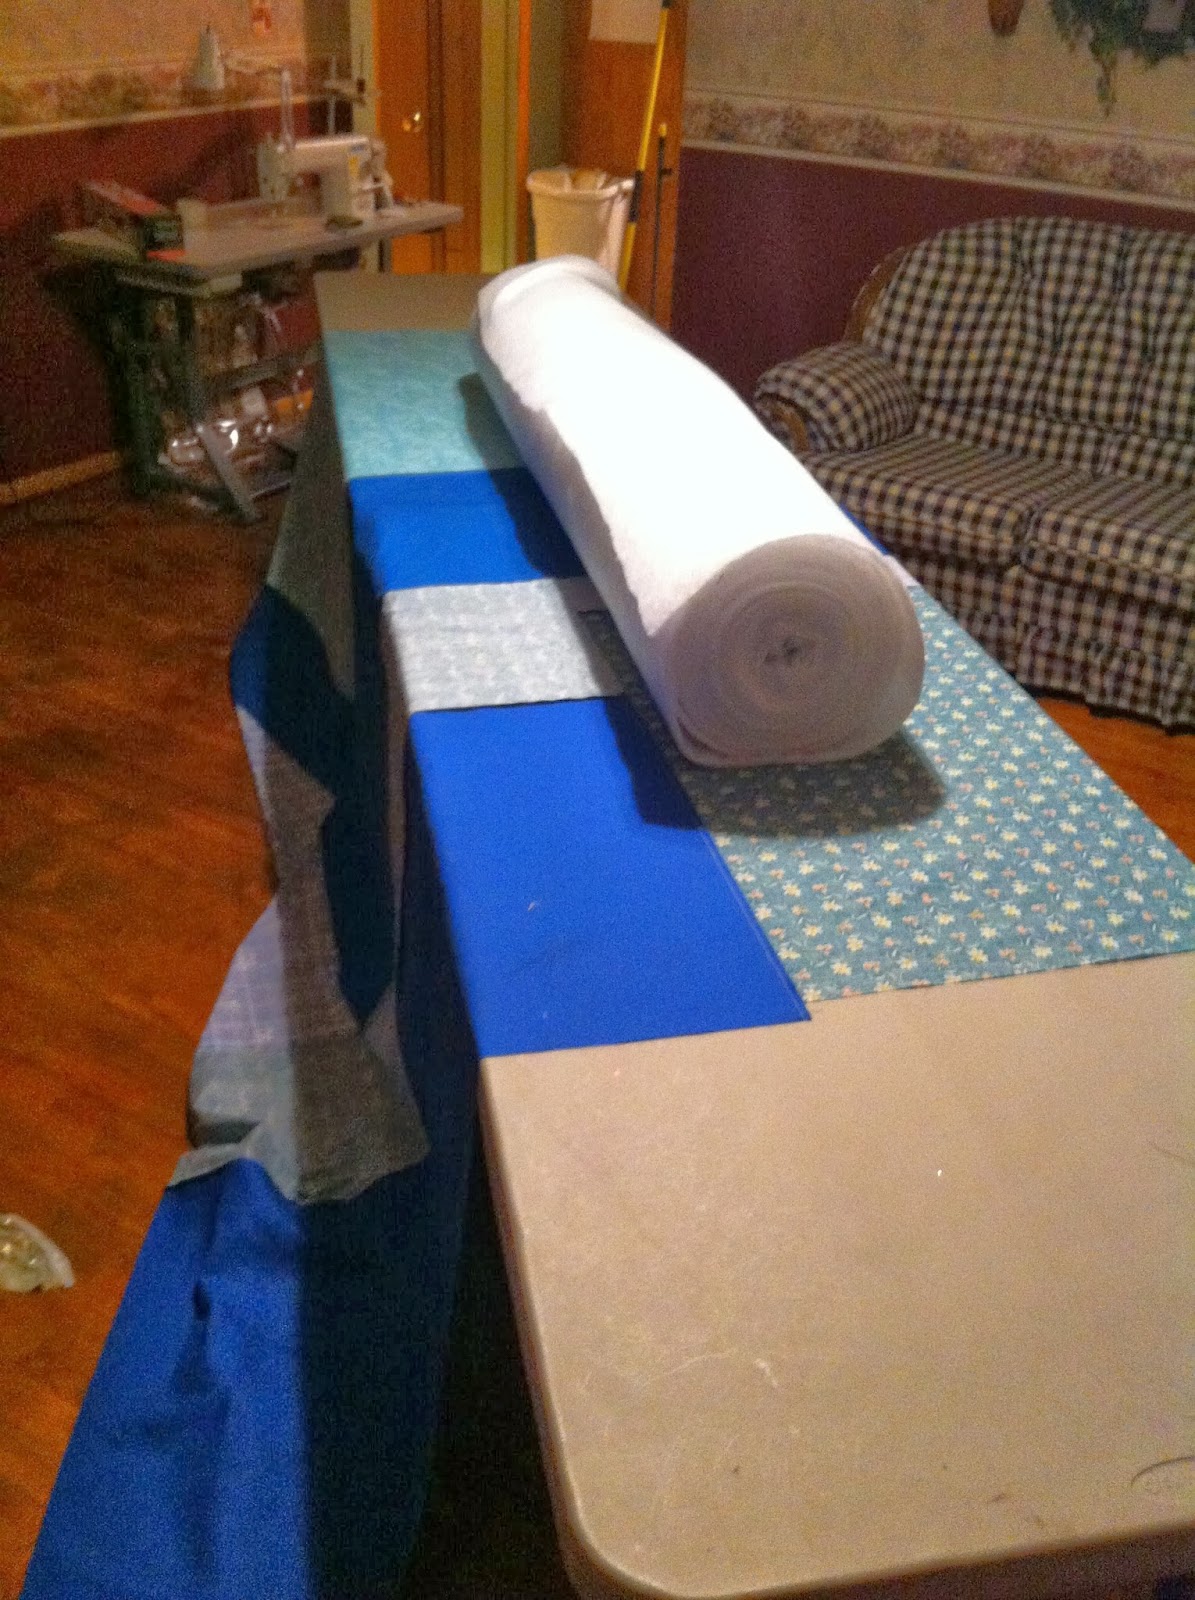
 Here I am getting ready to baste - I had to push two big tables together - this was a bigggg quilt!
 basting, basting....
 anddddd DONE!
 It's a snowy day here in Milton, WV - I used my fence as a quilt model ;c) It's very windy too!

 Scrappy Backing!
 Brrrrr. . windy!
 The footprint of my husband's shoes haha
 My foot print in the deep snow drift!

Wednesday, March 21, 2012

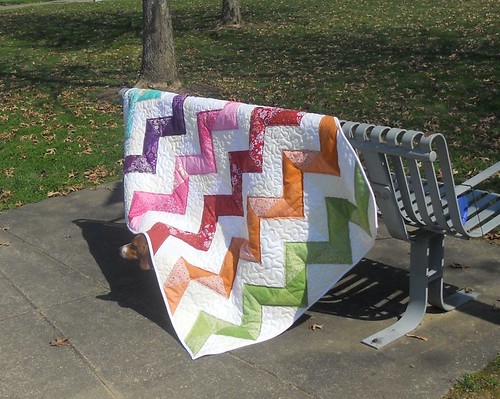
Project Quilting #6 ZIGZAG!

Project Quilting Challenge "ZigZag"

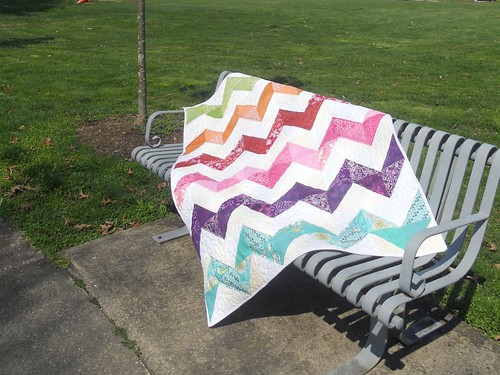
I didn't have AS much time this week to work on my PROJECT QUILTING challenge, but I STILL Wanted to participate!!! I named this quilt: "Berries & Cream"

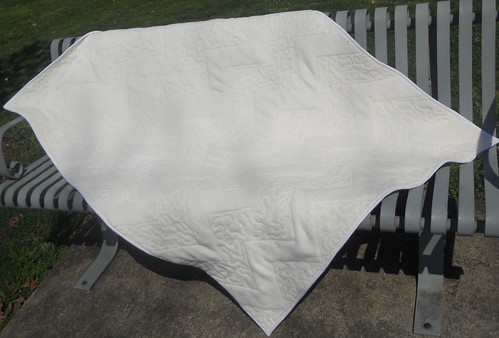
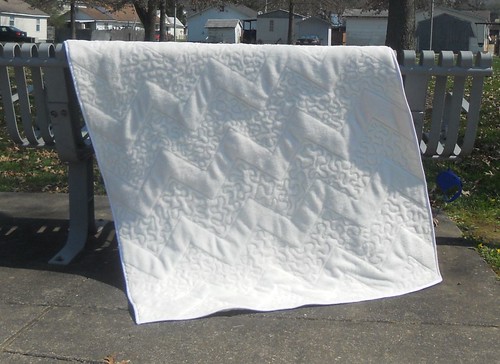
I will admit I am not the most creative person in the world. Also, I have never made a zigzag quilt before so I tried to keep it simple. The thing that should impress everyone is that I made this in just a matter of hours. I started Tuesday evening and finished Wednesday afternoon. I picked out scraps from my stash paired with neutral scraps (white/beige/creams) For each "zigzag" i used colors from the same family. In the neutral areas I stipple quilted. After I finished with the stippling I LOVED how the colored areas looked all puffy. So I just did an outline about 1/4" from the edges of the colored zigzags to keep the "puffiness."
Project Quilting Challenge "ZigZag"
For the back I used super soft Minky Fleece.
Batting-100% polyester(high-loft), but everything else is 100% cotton. Bound with Kona pure white.

I went to the park to take some photos because it was a beautiful sunny day!
Project Quilting Challenge "ZigZag"

Head on over to KIM'S CRAFTY APPLE Flickr Group to see all the submissions for this week and past week's challenges!!